How to create In-App Purchases in App Store Connect

Oscar de la Hera Gomez
A flower that represents App Store Connect with the text "In-App Purchases" beneath it.

A step by step guide on creating Consumables or Non-Consumables for iOS, iPadOS, MacOS, WatchOS or TVOS using Apple's App Store Connect.

Step One: Access the app

A screenshot of an App Landing page within App Store Connect.

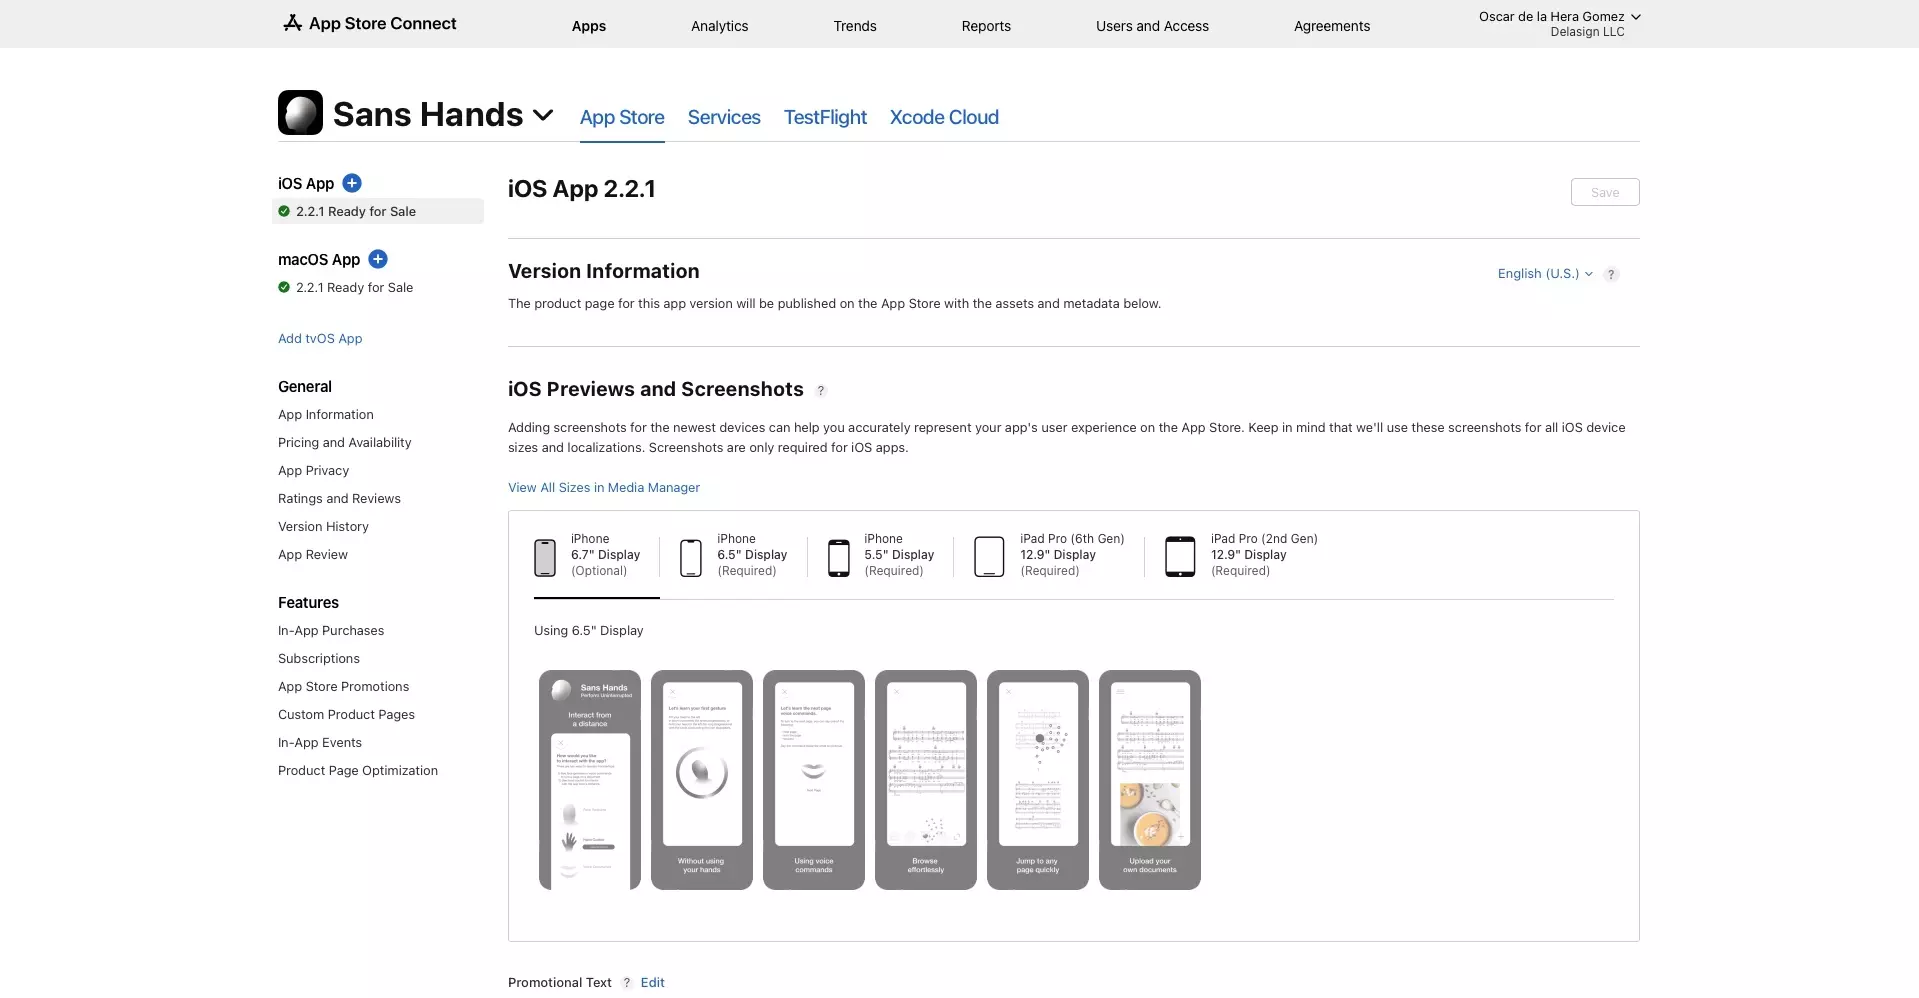
Access the app in App Store Connect.

Step Two: Select In-App Purchases

A screenshot of the Sans Hands iOS App page in App Store Connect. Highlighted on the left is the "In-App Purchases" menu tab, which is found under "Features" press it and move on to the next step.

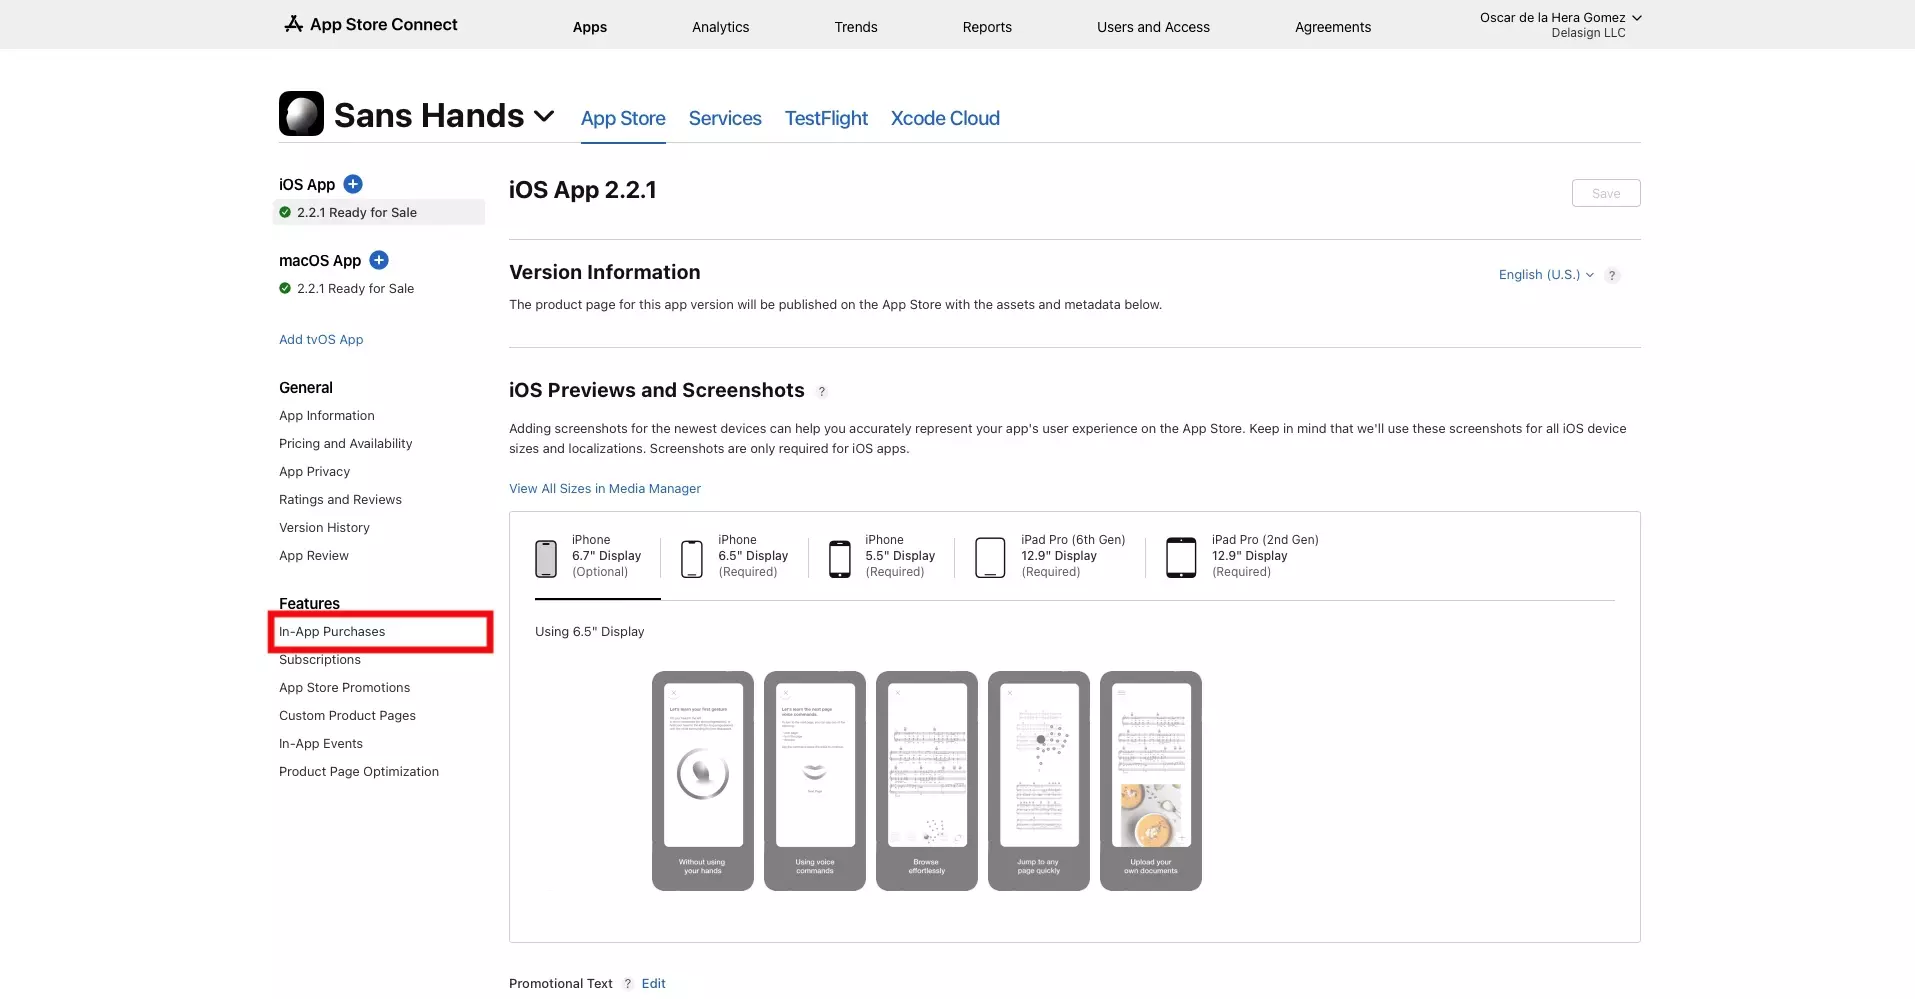
On the left menu side bar, click the In-App Purchases tab under Features.

Step Three: Create new In-App Purchase

A screenshot of the In-App Purchases page for Sans Hands. Highlighted is the "+" button and the "Create" button which allow you to create new in-app purchases. Press either of these and continue to the next step.

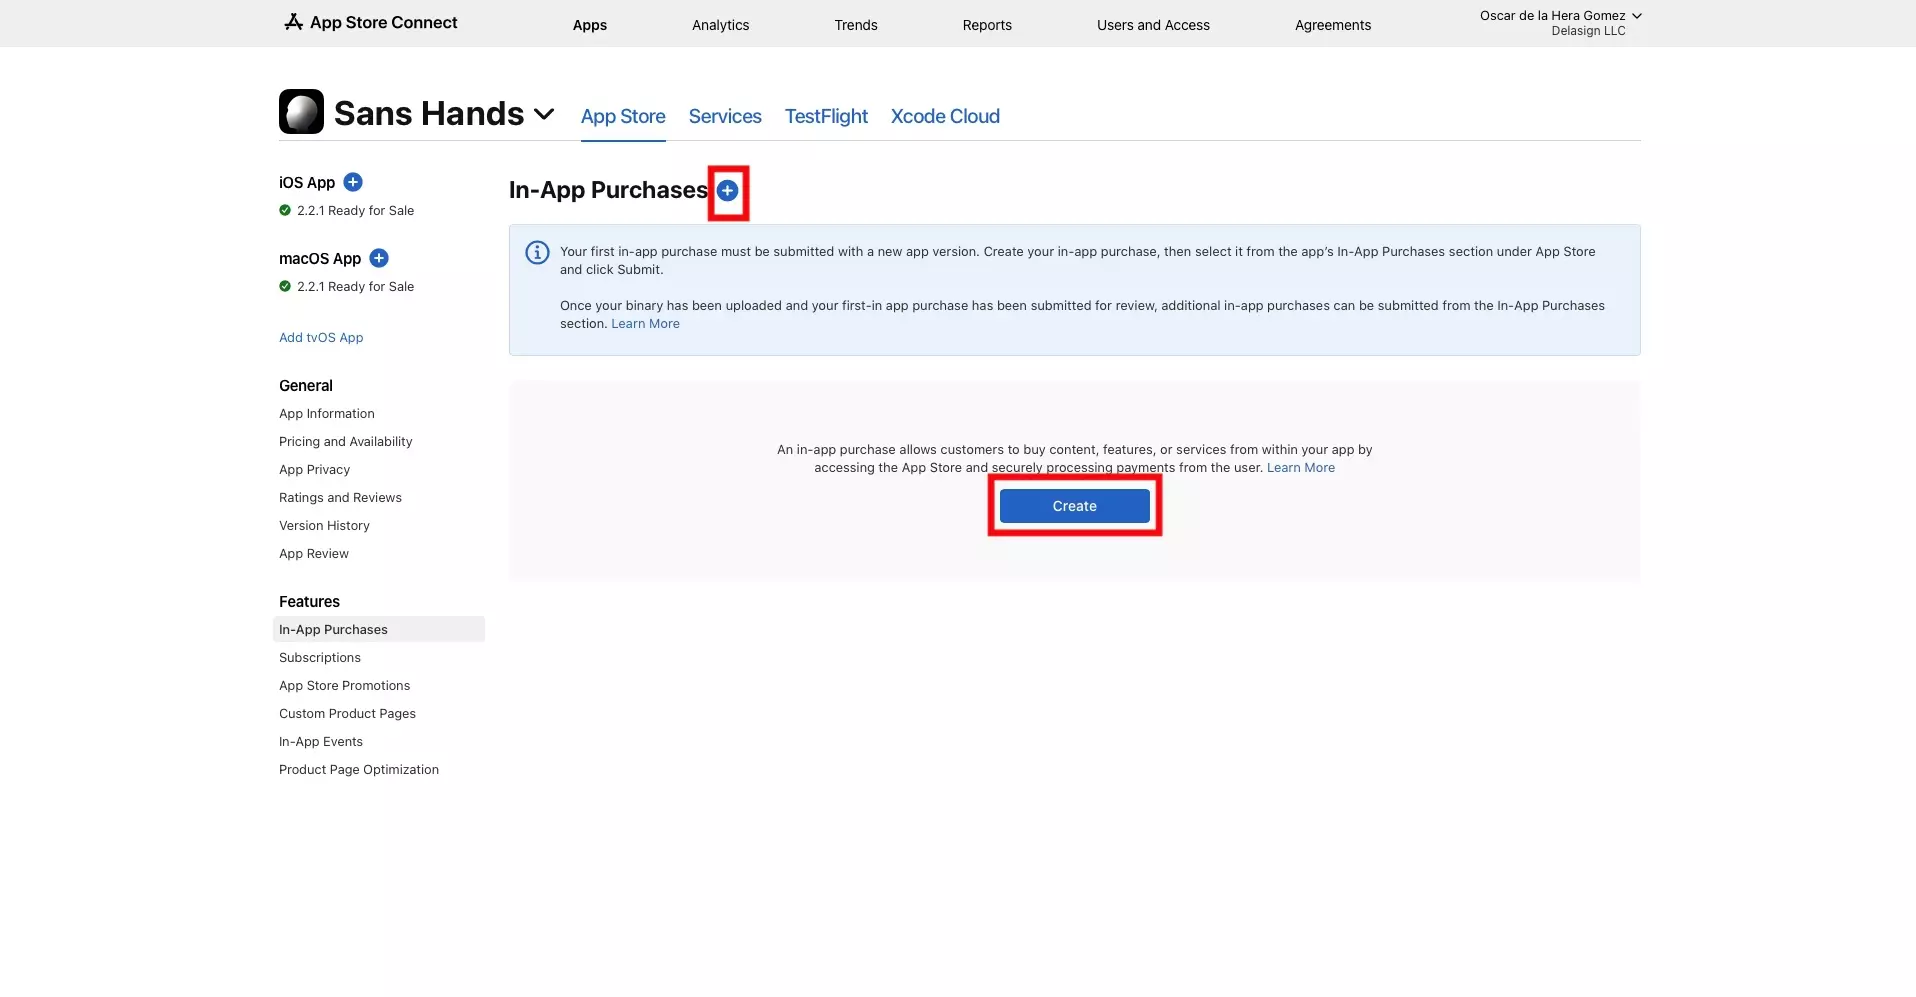
Press the + next to In-App Purchases to create a new consumable or non-consumable.

Alternatively, if you have not yet created an In-App Purchase, you can click the Create button.

Step Four: Select Type

A screenshot of the In-App Purchases Creation Modal that appears when you press create a new in-app purchase. Highlighted is the Type dropdown, showing you how you can select between consumable and non-consumable.

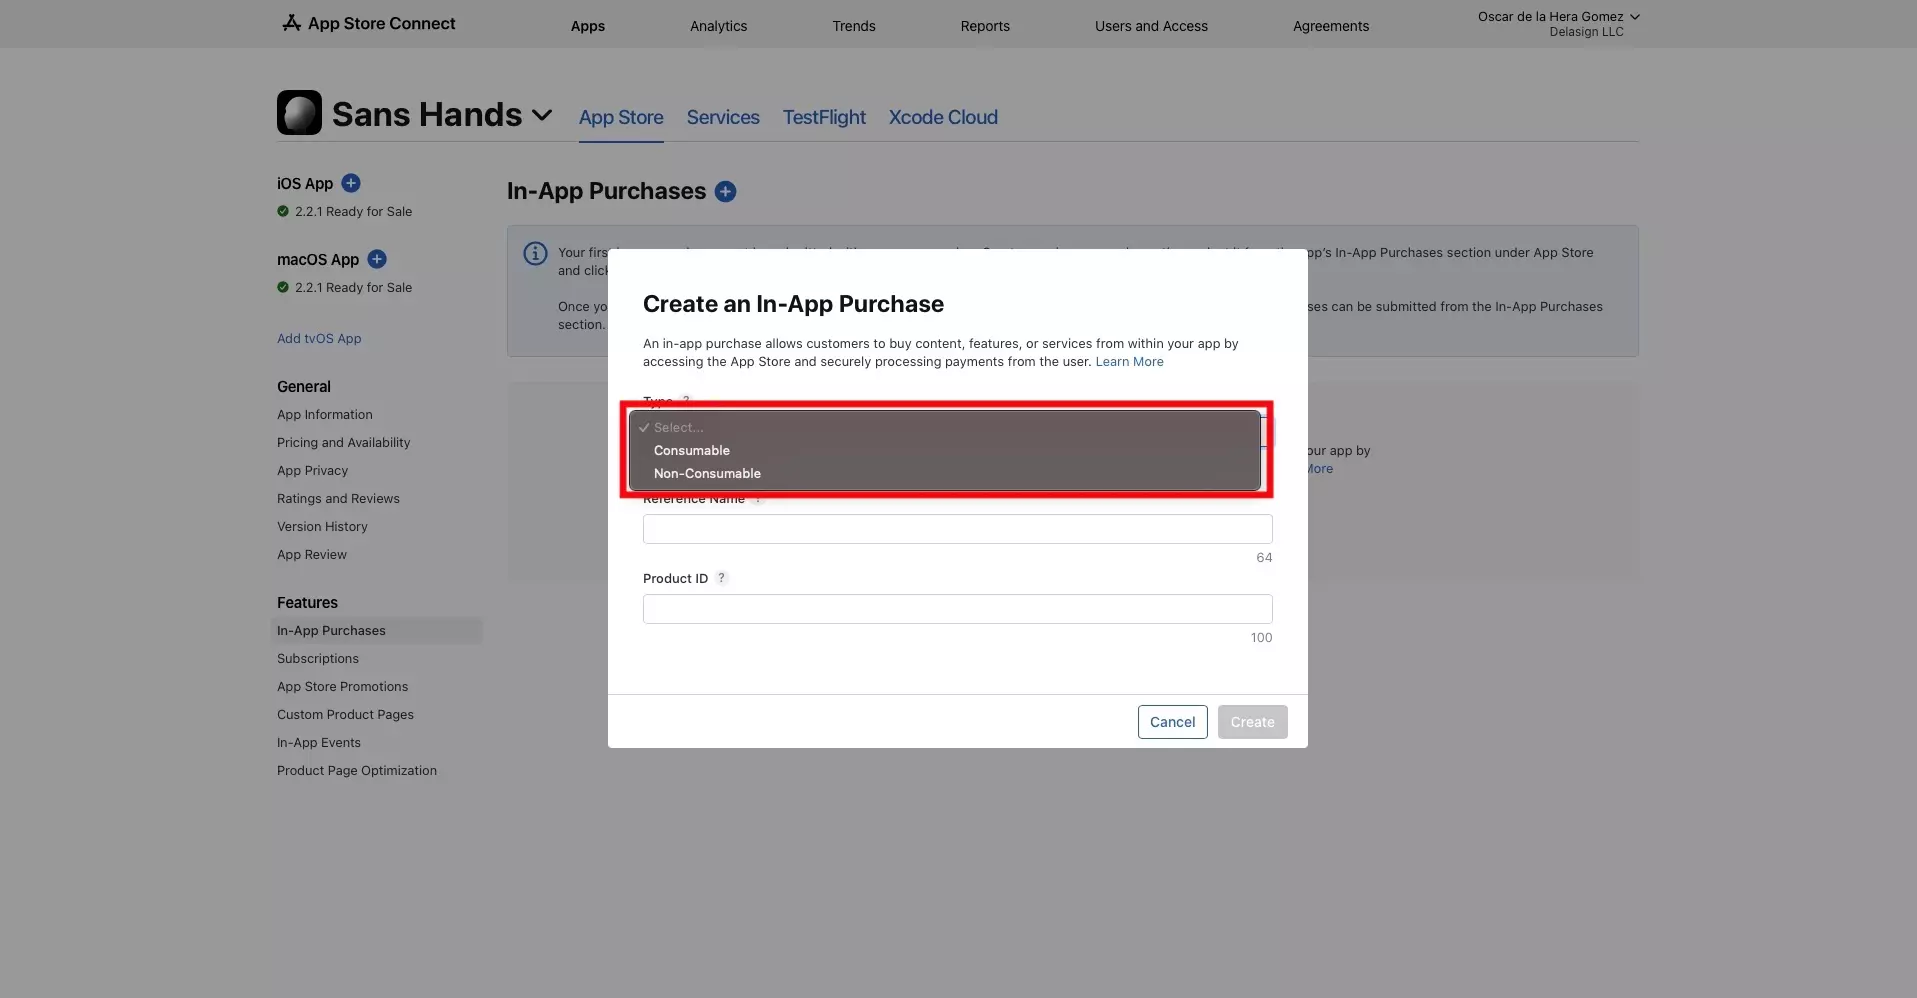
In the modal that appears, click the Type dropdown and select whether you want your In-App Purchase to be a Consumable or a Non-Consumable

Step Five: Fill in Details

A screenshot of the In-App Purchases creation modal, with a highlight on the details that you have to fill in.

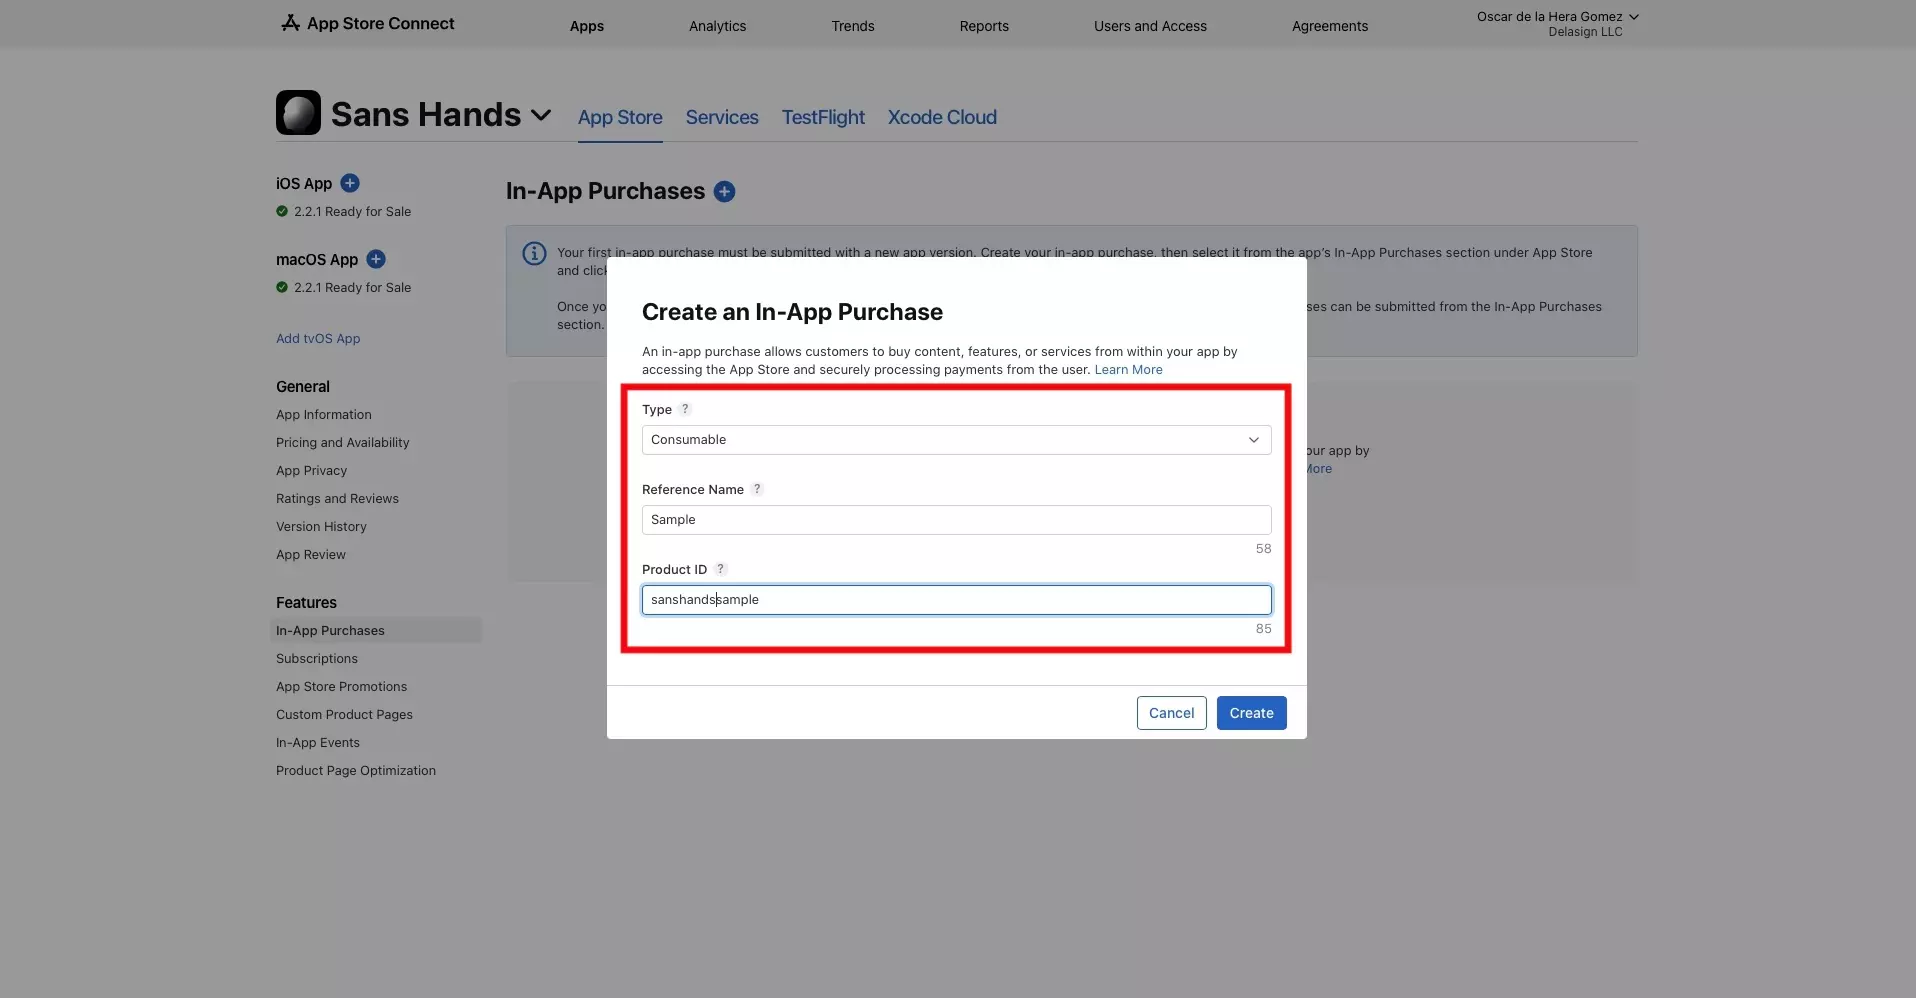
Give your In-App Purchase a Reference Name and a Product Id.

Please note that the Reference Name and Product Id are for Sales and Trends purposes. The actual information that is displayed to the user is the App Store Localized content which is completed within the product details.

Step Six: Create

A screenshot of the In-App Purchase creation modal with a highlight on the "Create" button on the bottom right. Press it and move onto the next step.

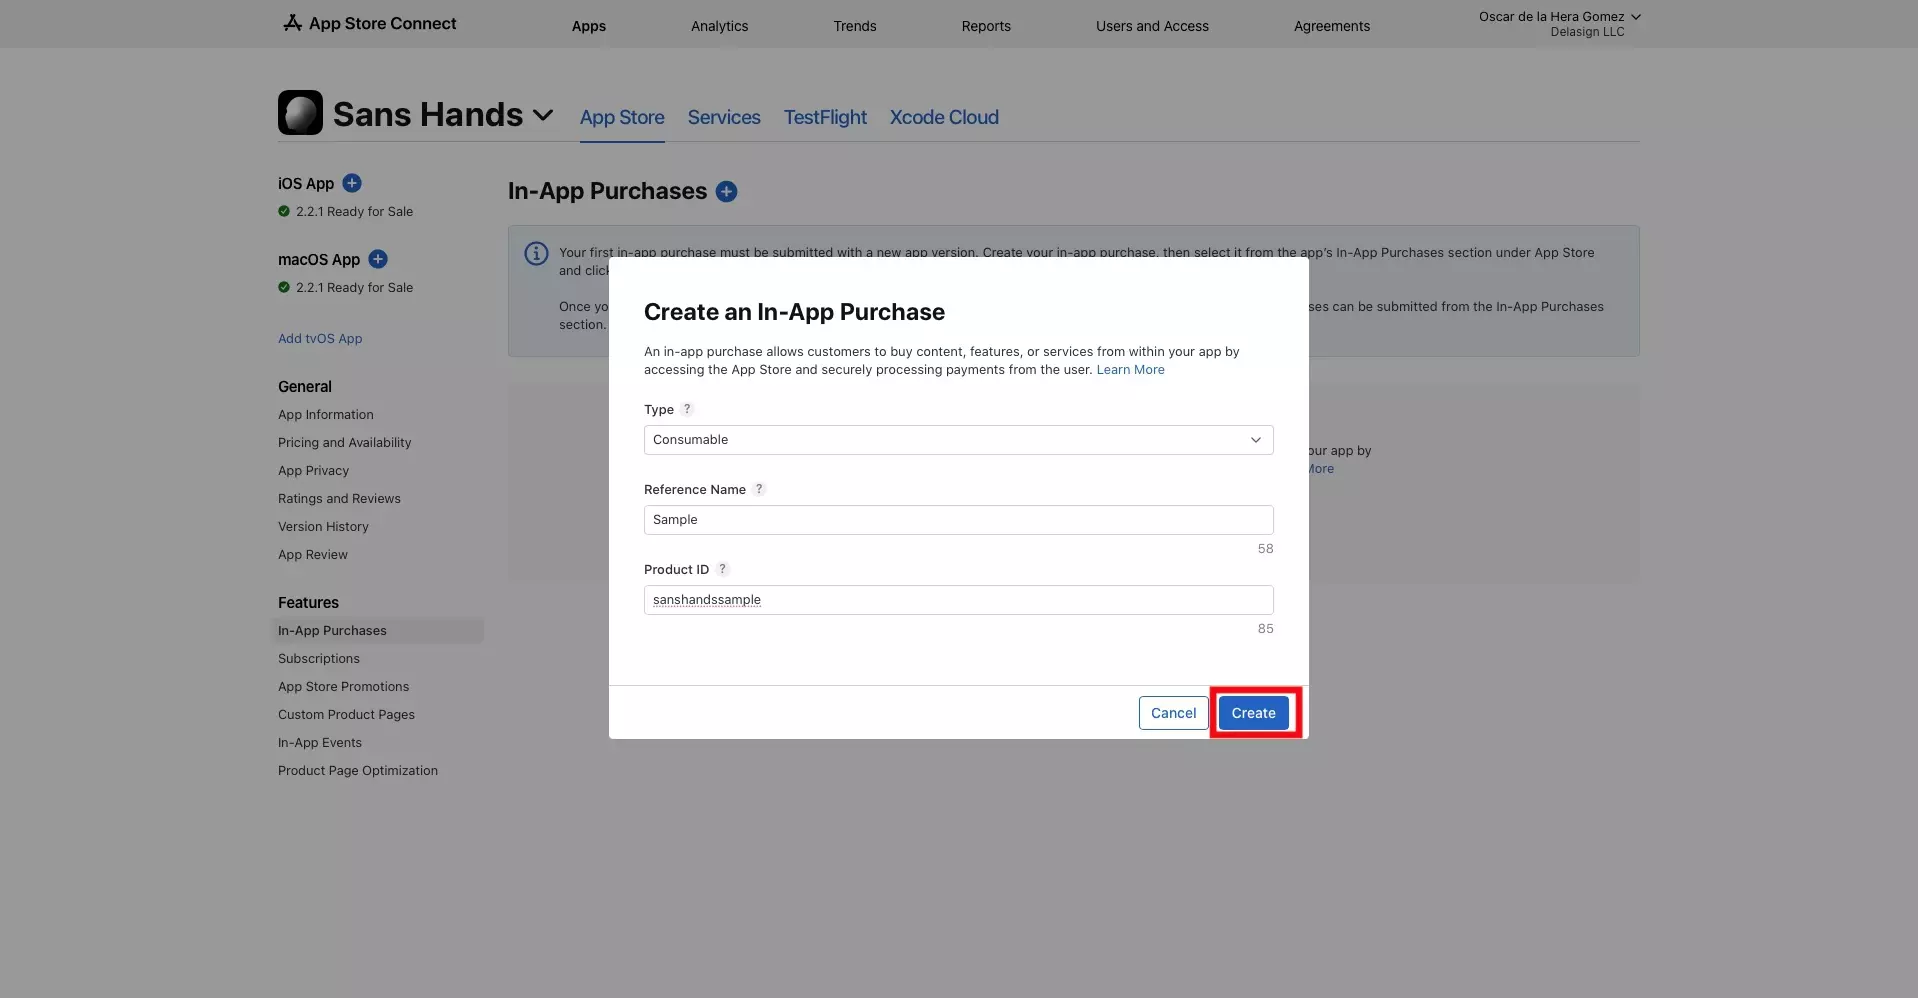
Once everything looks good, click the Create button on the bottom right.

Step Seven: Add the Price

A screenshot of the In-App Purchase page for the product that we created highlighting where you need to choose the price. This is found under the "Price Schedule" Section, in a table titled "Price" and whose dropdown initially reads as "Choose..".

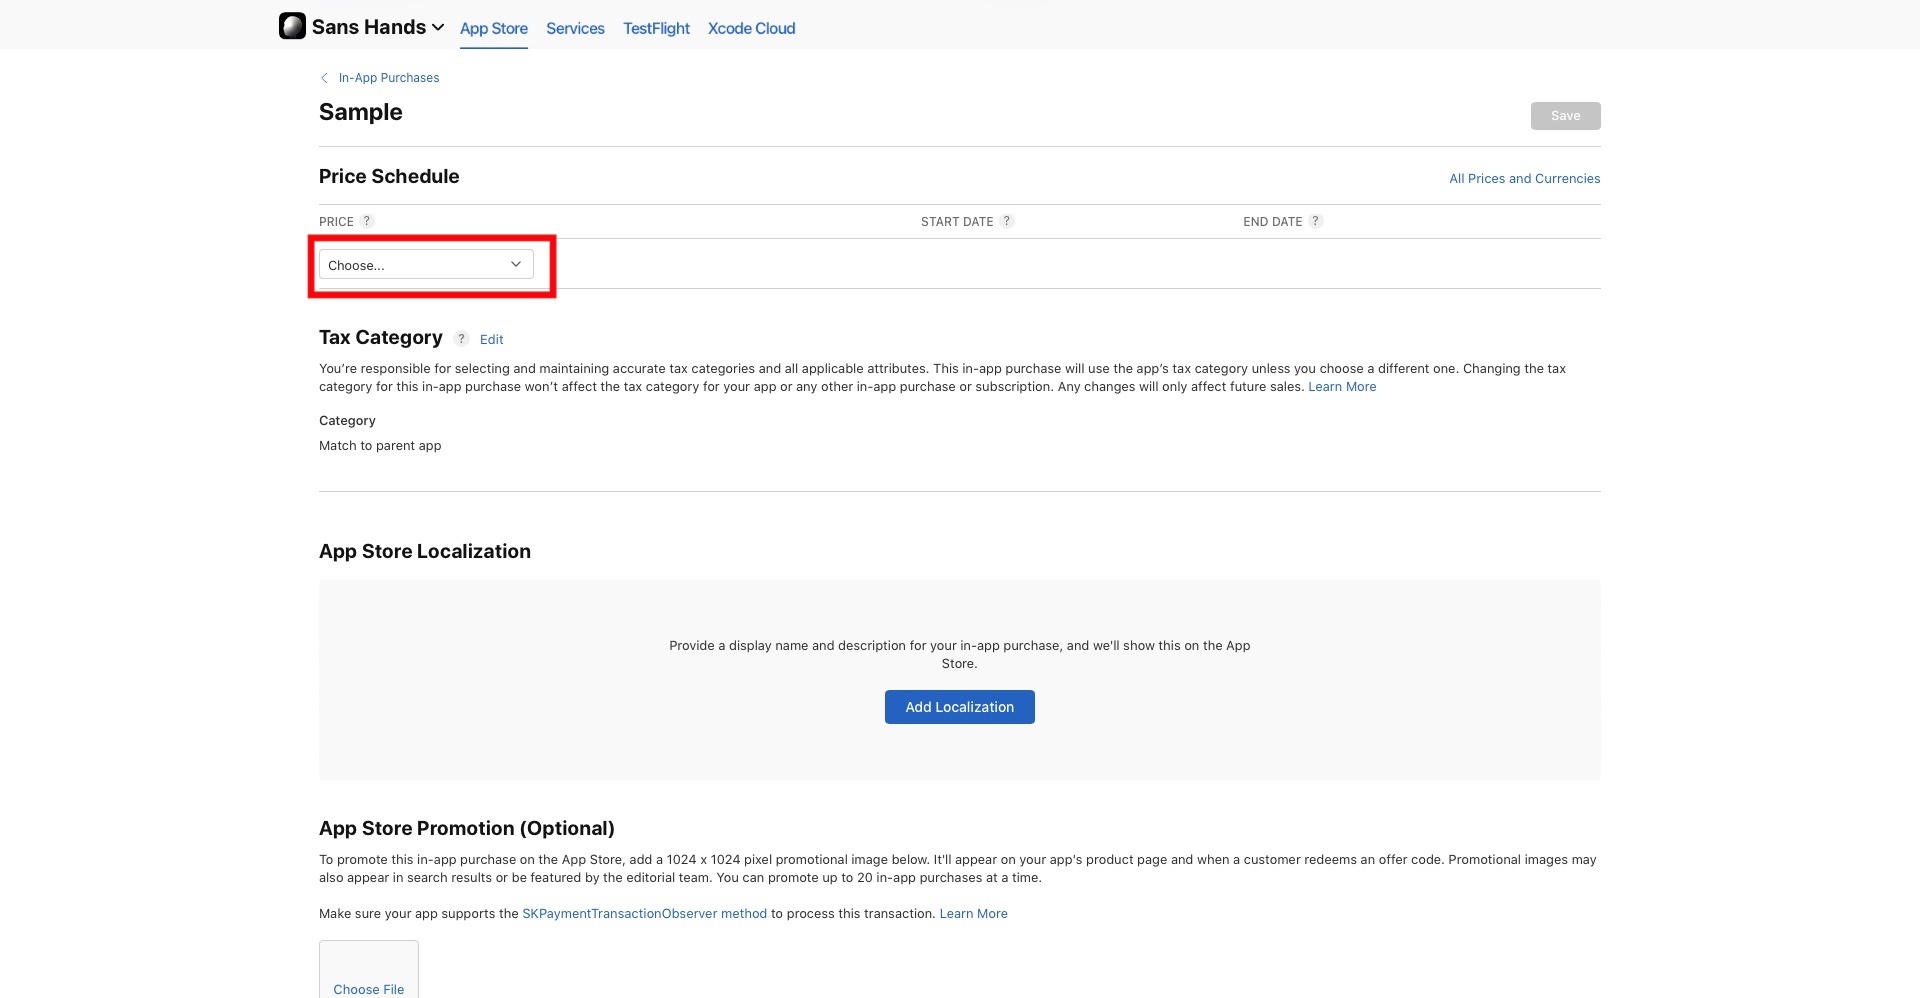
In the page that appears, navigate down to Price Schedule and using the dropdown under Price select the pricing tier that you want for your In-App Purchase.

Step Eight: Add Localization

A screenshot of the In-App Purchase that we created in this tutorial, demonstrating that we added an App Store Localization correctly to the product. These steps are detailed below.

Adding a localization is optional but strongly recommended, as it will allow you to name and describe your In-App Purchases.

The actual information that is displayed to the user is the App Store Localized content which is completed within the product details.

A | Add Localization

A screenshot of the In-App Purchase page for the product that we created, showing where you can add a localization for your product. This is found under the "App Store Localization" section and to add a new localization, either press the "+" button next to the App Store Localization section title or the "Add Localization" button beneath it.

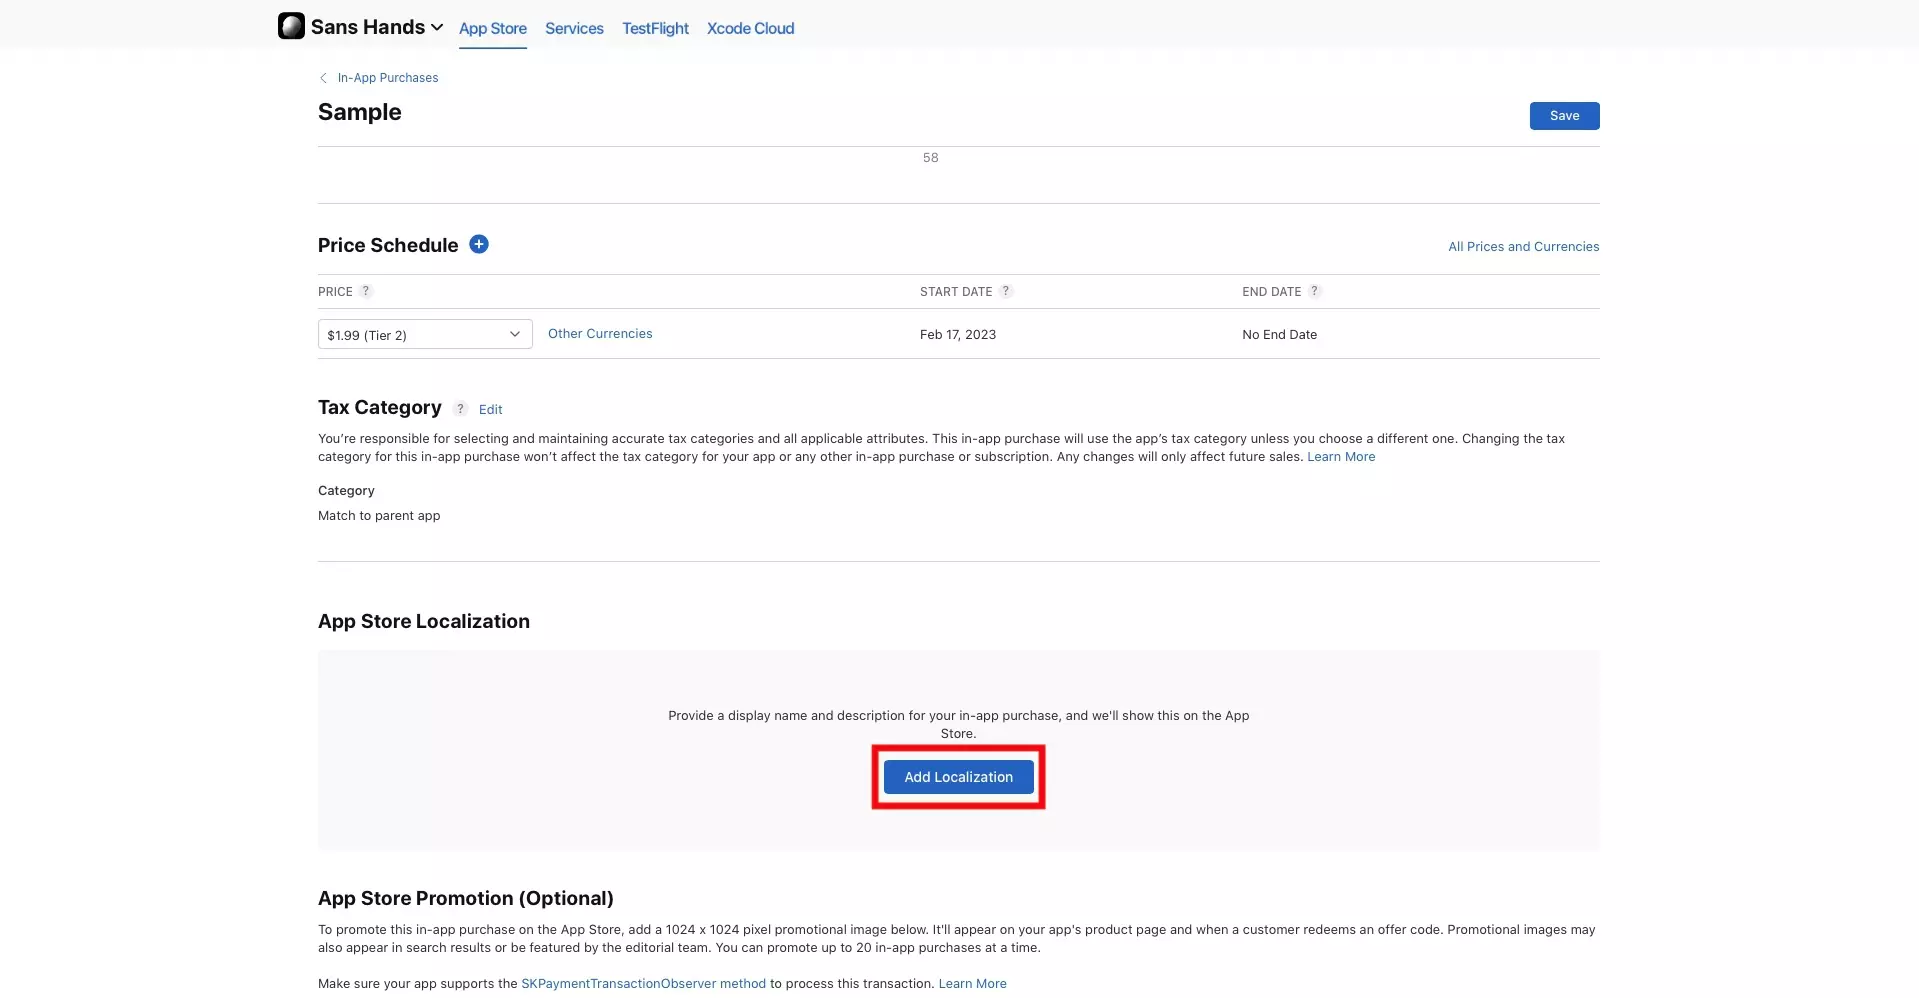
Under App Store Localization, click the App Localization button.

B | Fill in the details

A screenshot of the modal that appears when you add a new App Store Localization. Highlighted are the inputs that you must fill, these described below.

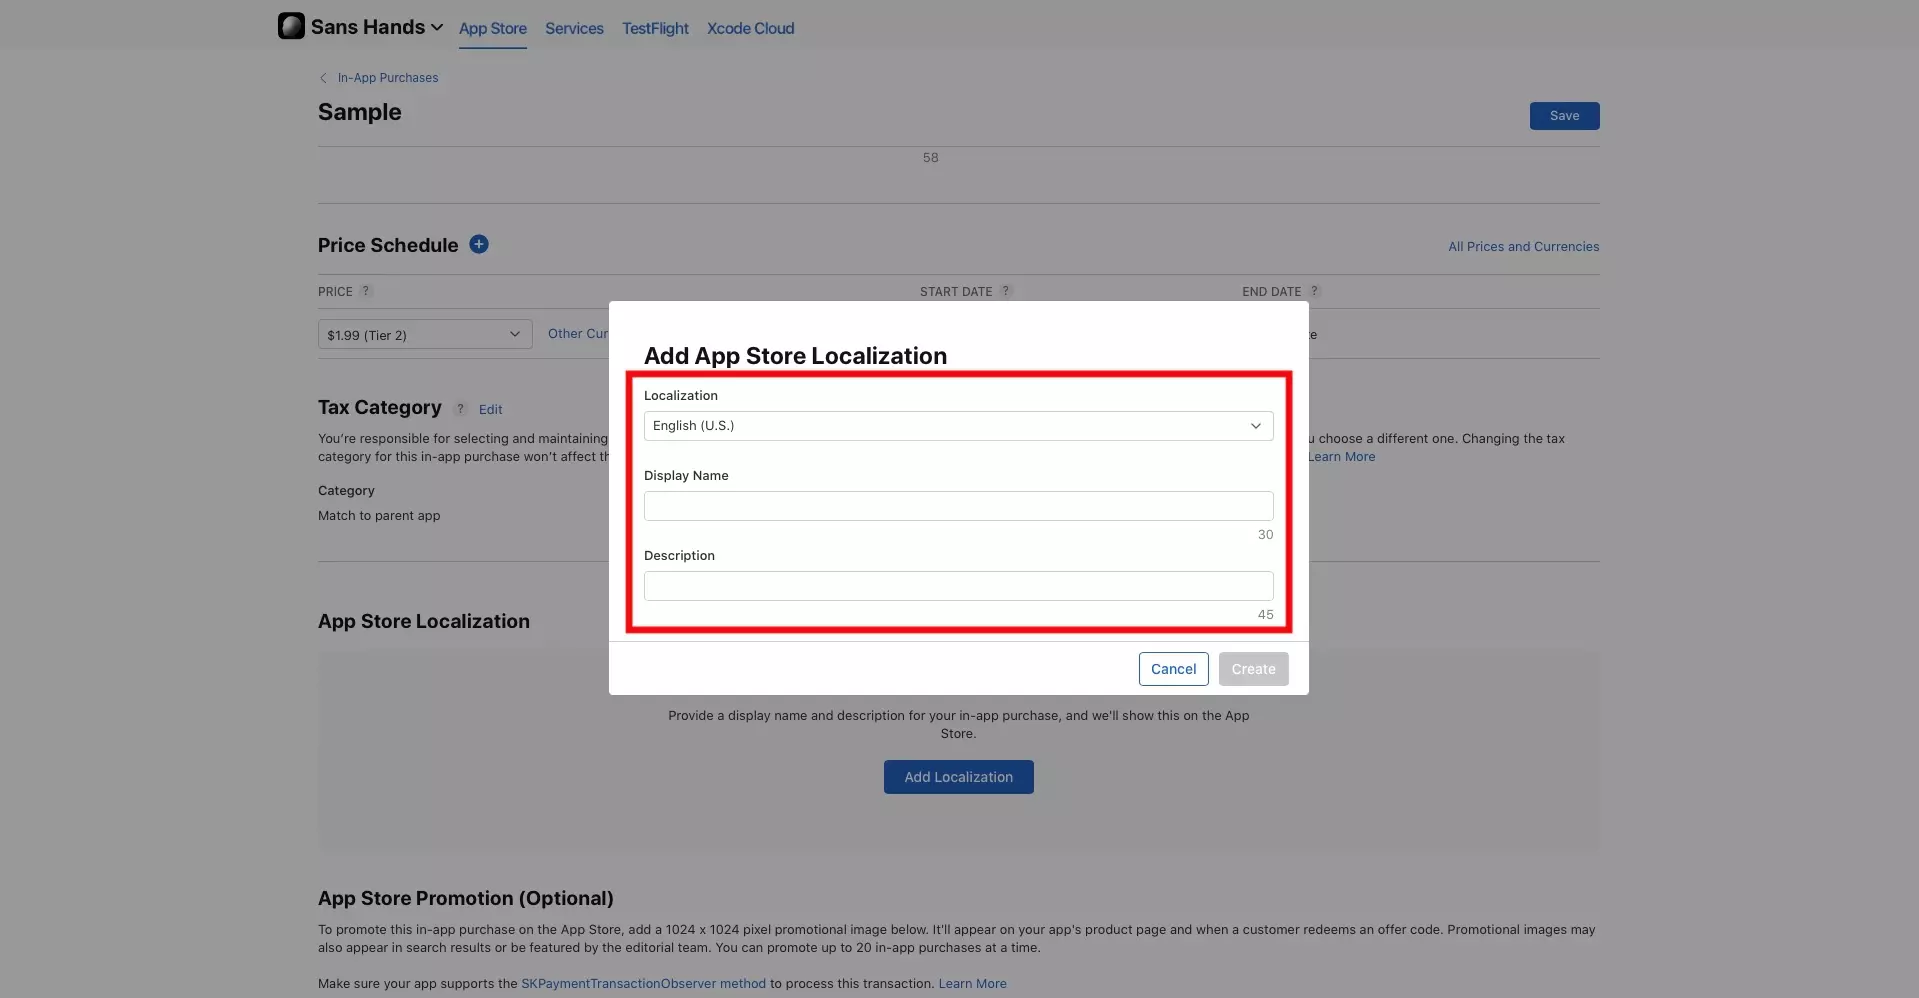
Select the language that you wish for your localization using the Localization dropdown, add your products display name and description for that language.

C | Create

A screenshot of the add App Store Localization modal with the details filled in. Highlighted on the bottom right of the modal is the "Create" button. Press it and move on to the next step.

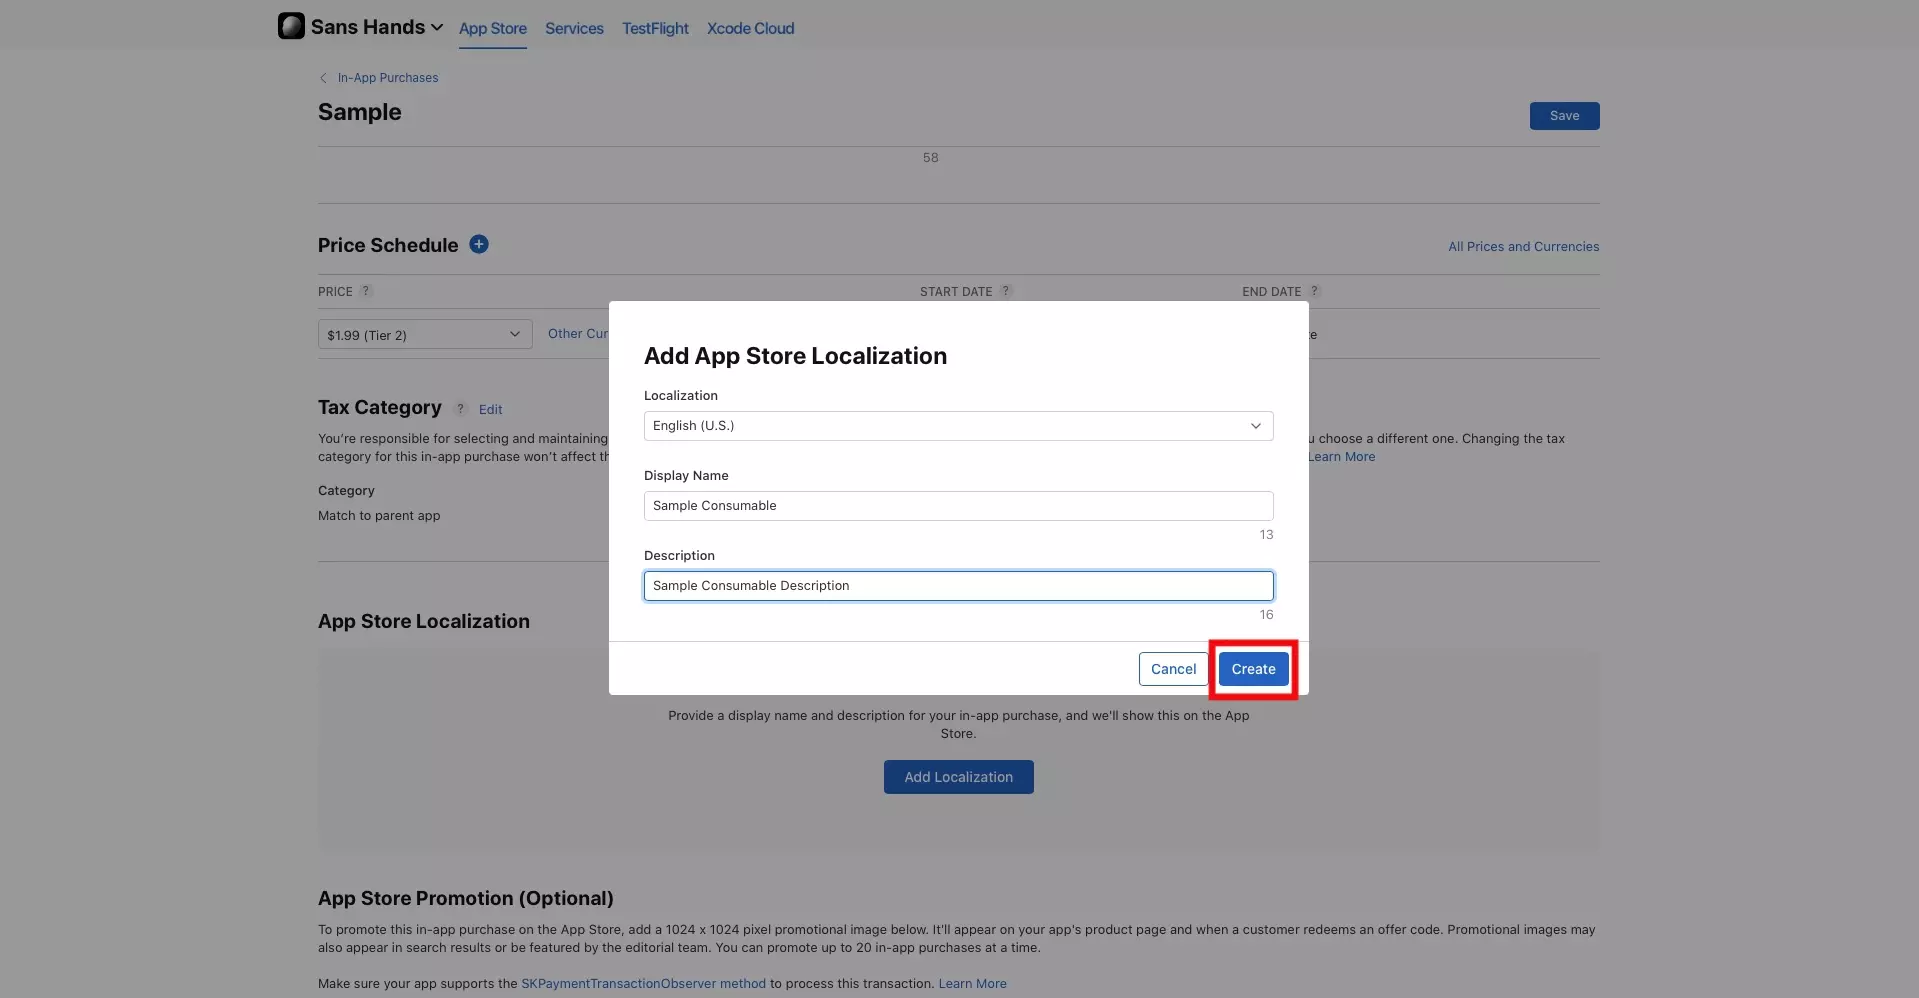
Once everything looks good, click Create on the bottom right.

Step Nine: Save

A screenshot of the In-App Purchase page for the product we created, with a highlight on the "Save" button on the top right. Press it to complete creating the In-App Purchase.

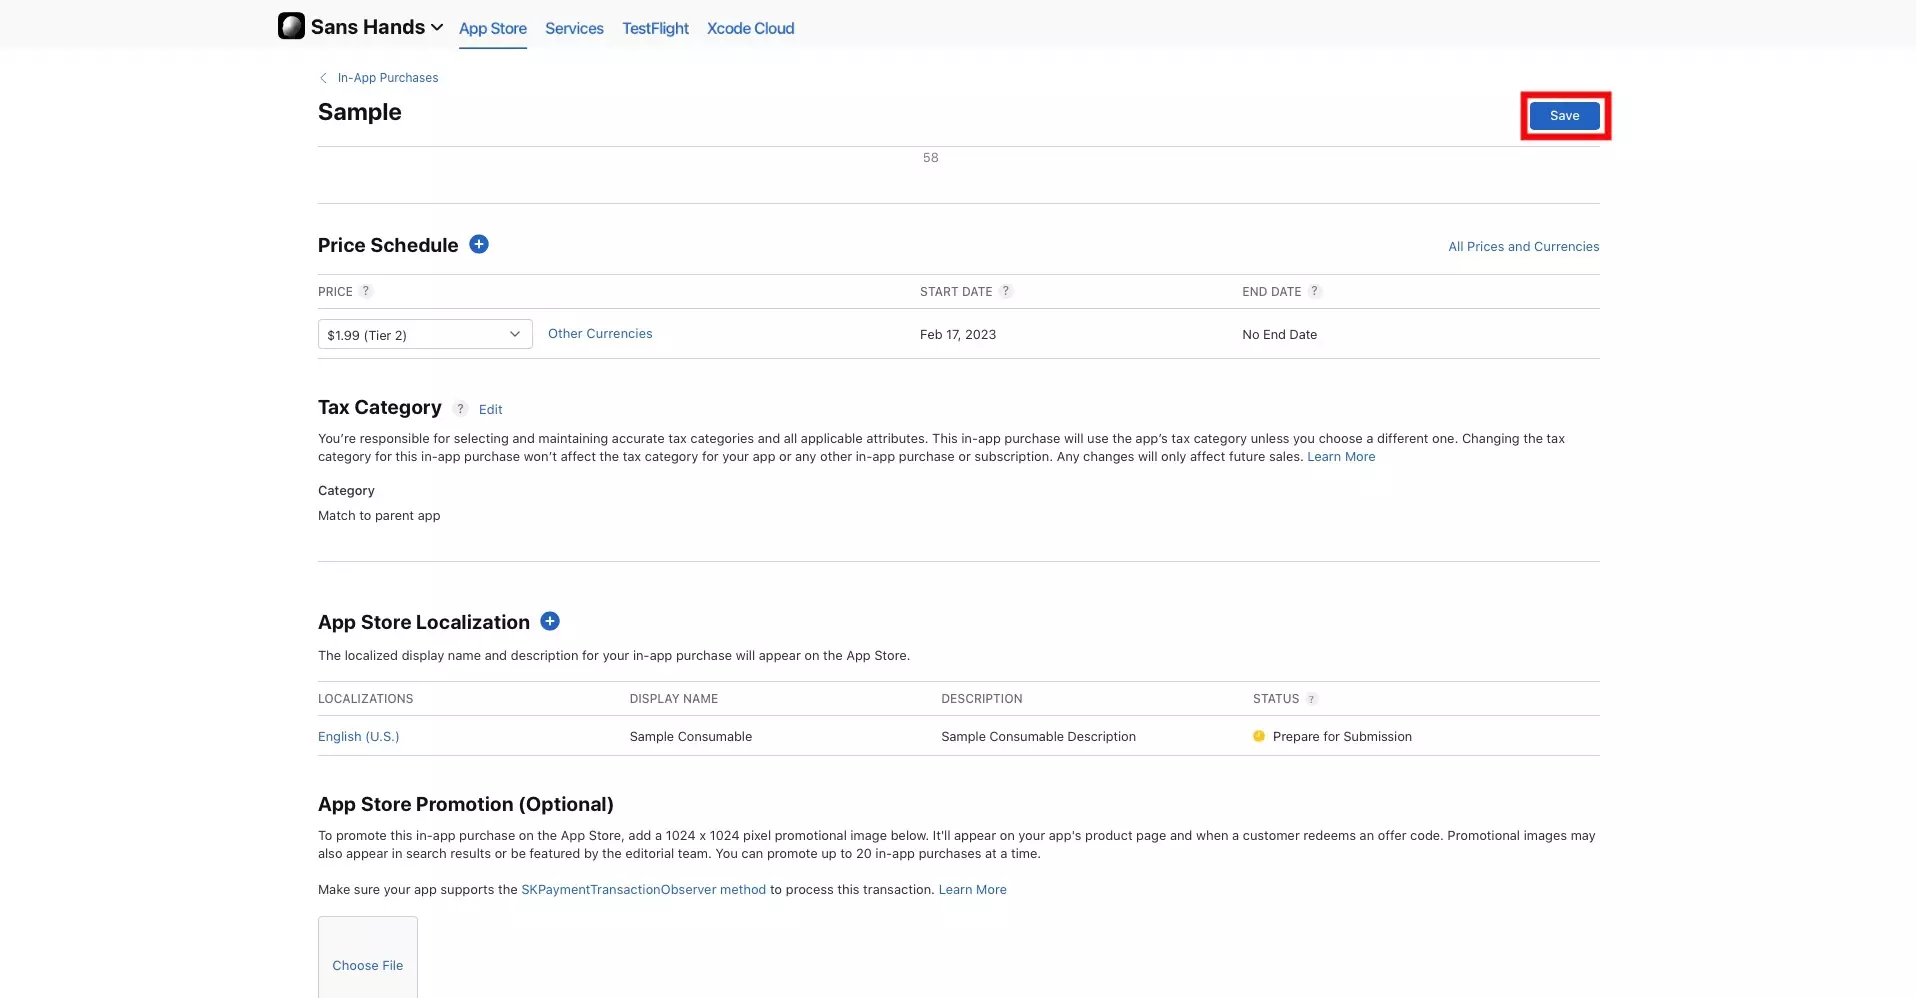
If you wish to add promotional images, you can do that below the App Store Localization.

Otherwise, once you're ready click Save to complete the creation of your In-App Purchase.

If you navigate back to the In-App Purchases you will see that it has successfully been created as a draft.

A screenshot of the Sans Hands In-App Purchase page, displaying the product that we created in this tutorial.

Any Questions?

We are actively looking for feedback on how to improve this resource. Please send us a note to inquiries@delasign.com with any thoughts or feedback you may have.
delasign logo

Book a Free Consultation.

An icon of an email.

Click here to email us.

Fill in the details below to book a free consultation or to let us know about something else. Whatever it is, we are here to help.

How can we help you ?

Contact Details