
How to create a SwiftLint enabled Swift Xcode Project

A step by step tutorial on creating an iOS Xcode project with SwiftLint. Github repository included.
The following step by step tutorial walks you through how to create a SwiftLint enabled Xcode project.
If you are looking for the specific SwiftLint part jump to step six.
Step One: Open Xcode
Using Spotlight or Finder, Open Xcode.
Step Two: Create a new Xcode project
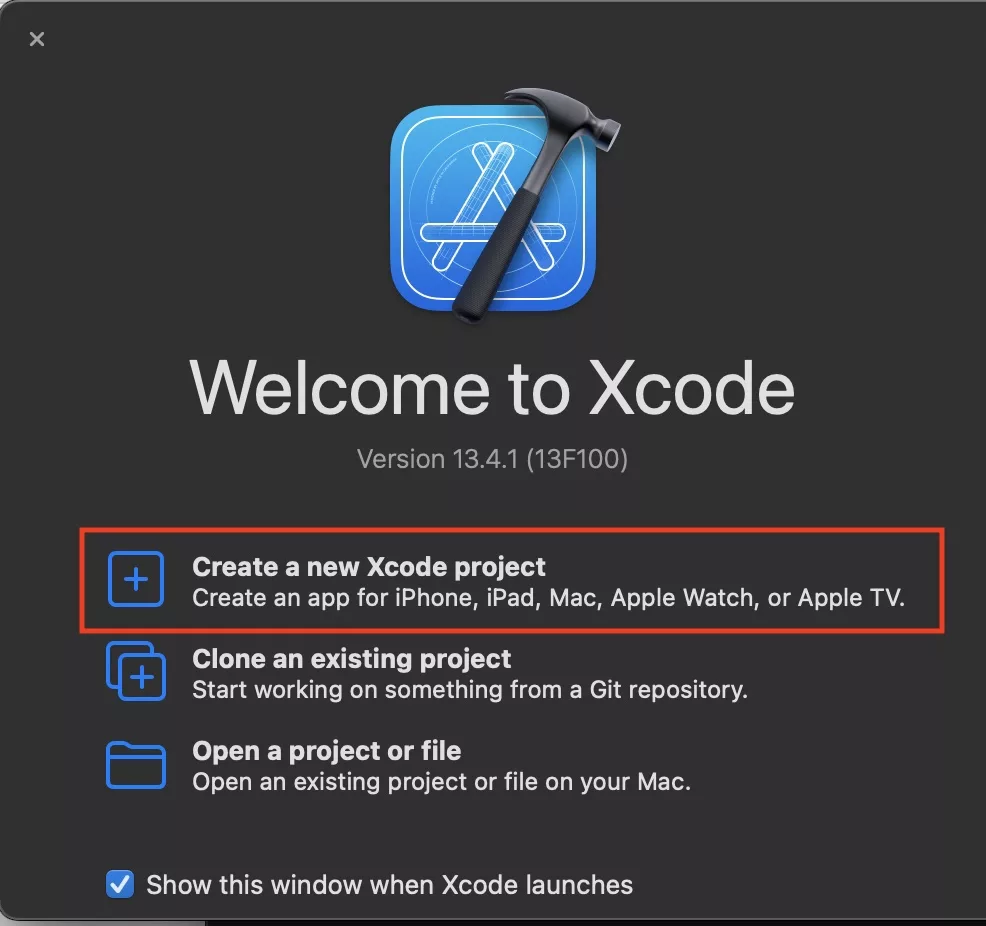
In the window that appears, select Create a new Xcode project.
Step Three: Select iOS App
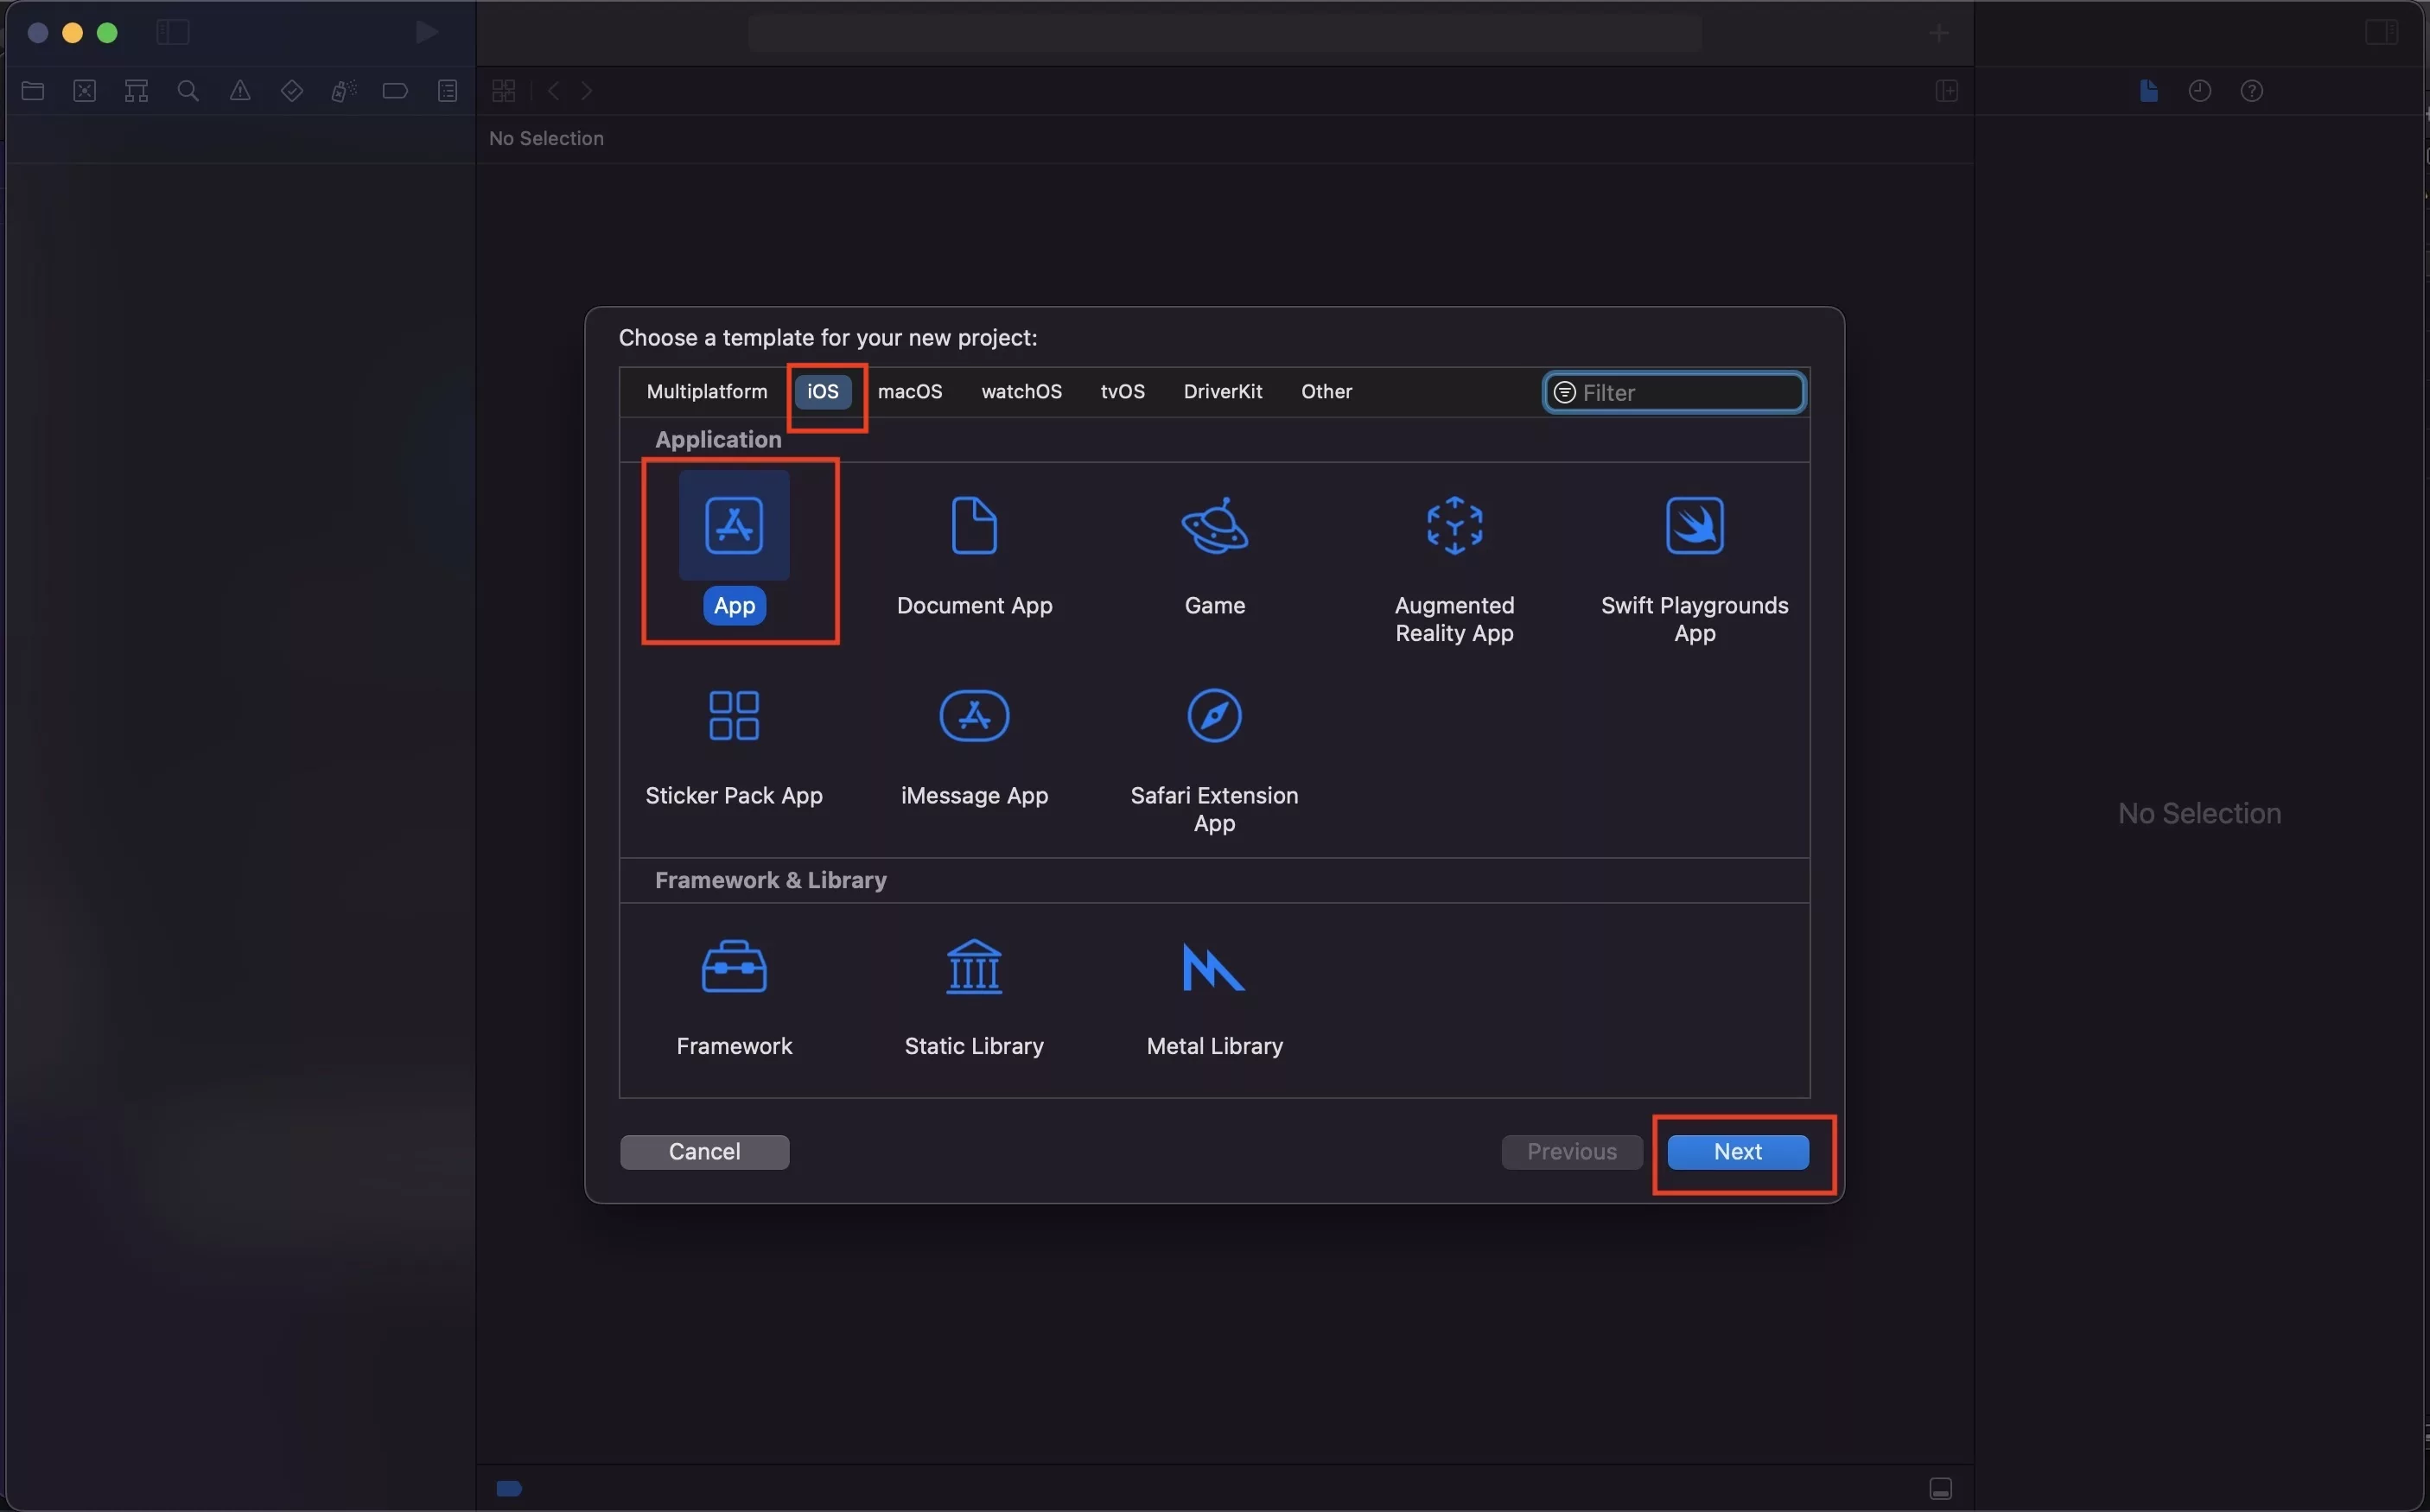
In the pop up that appears, select App under iOS and press Next.
Step Four: Name your project
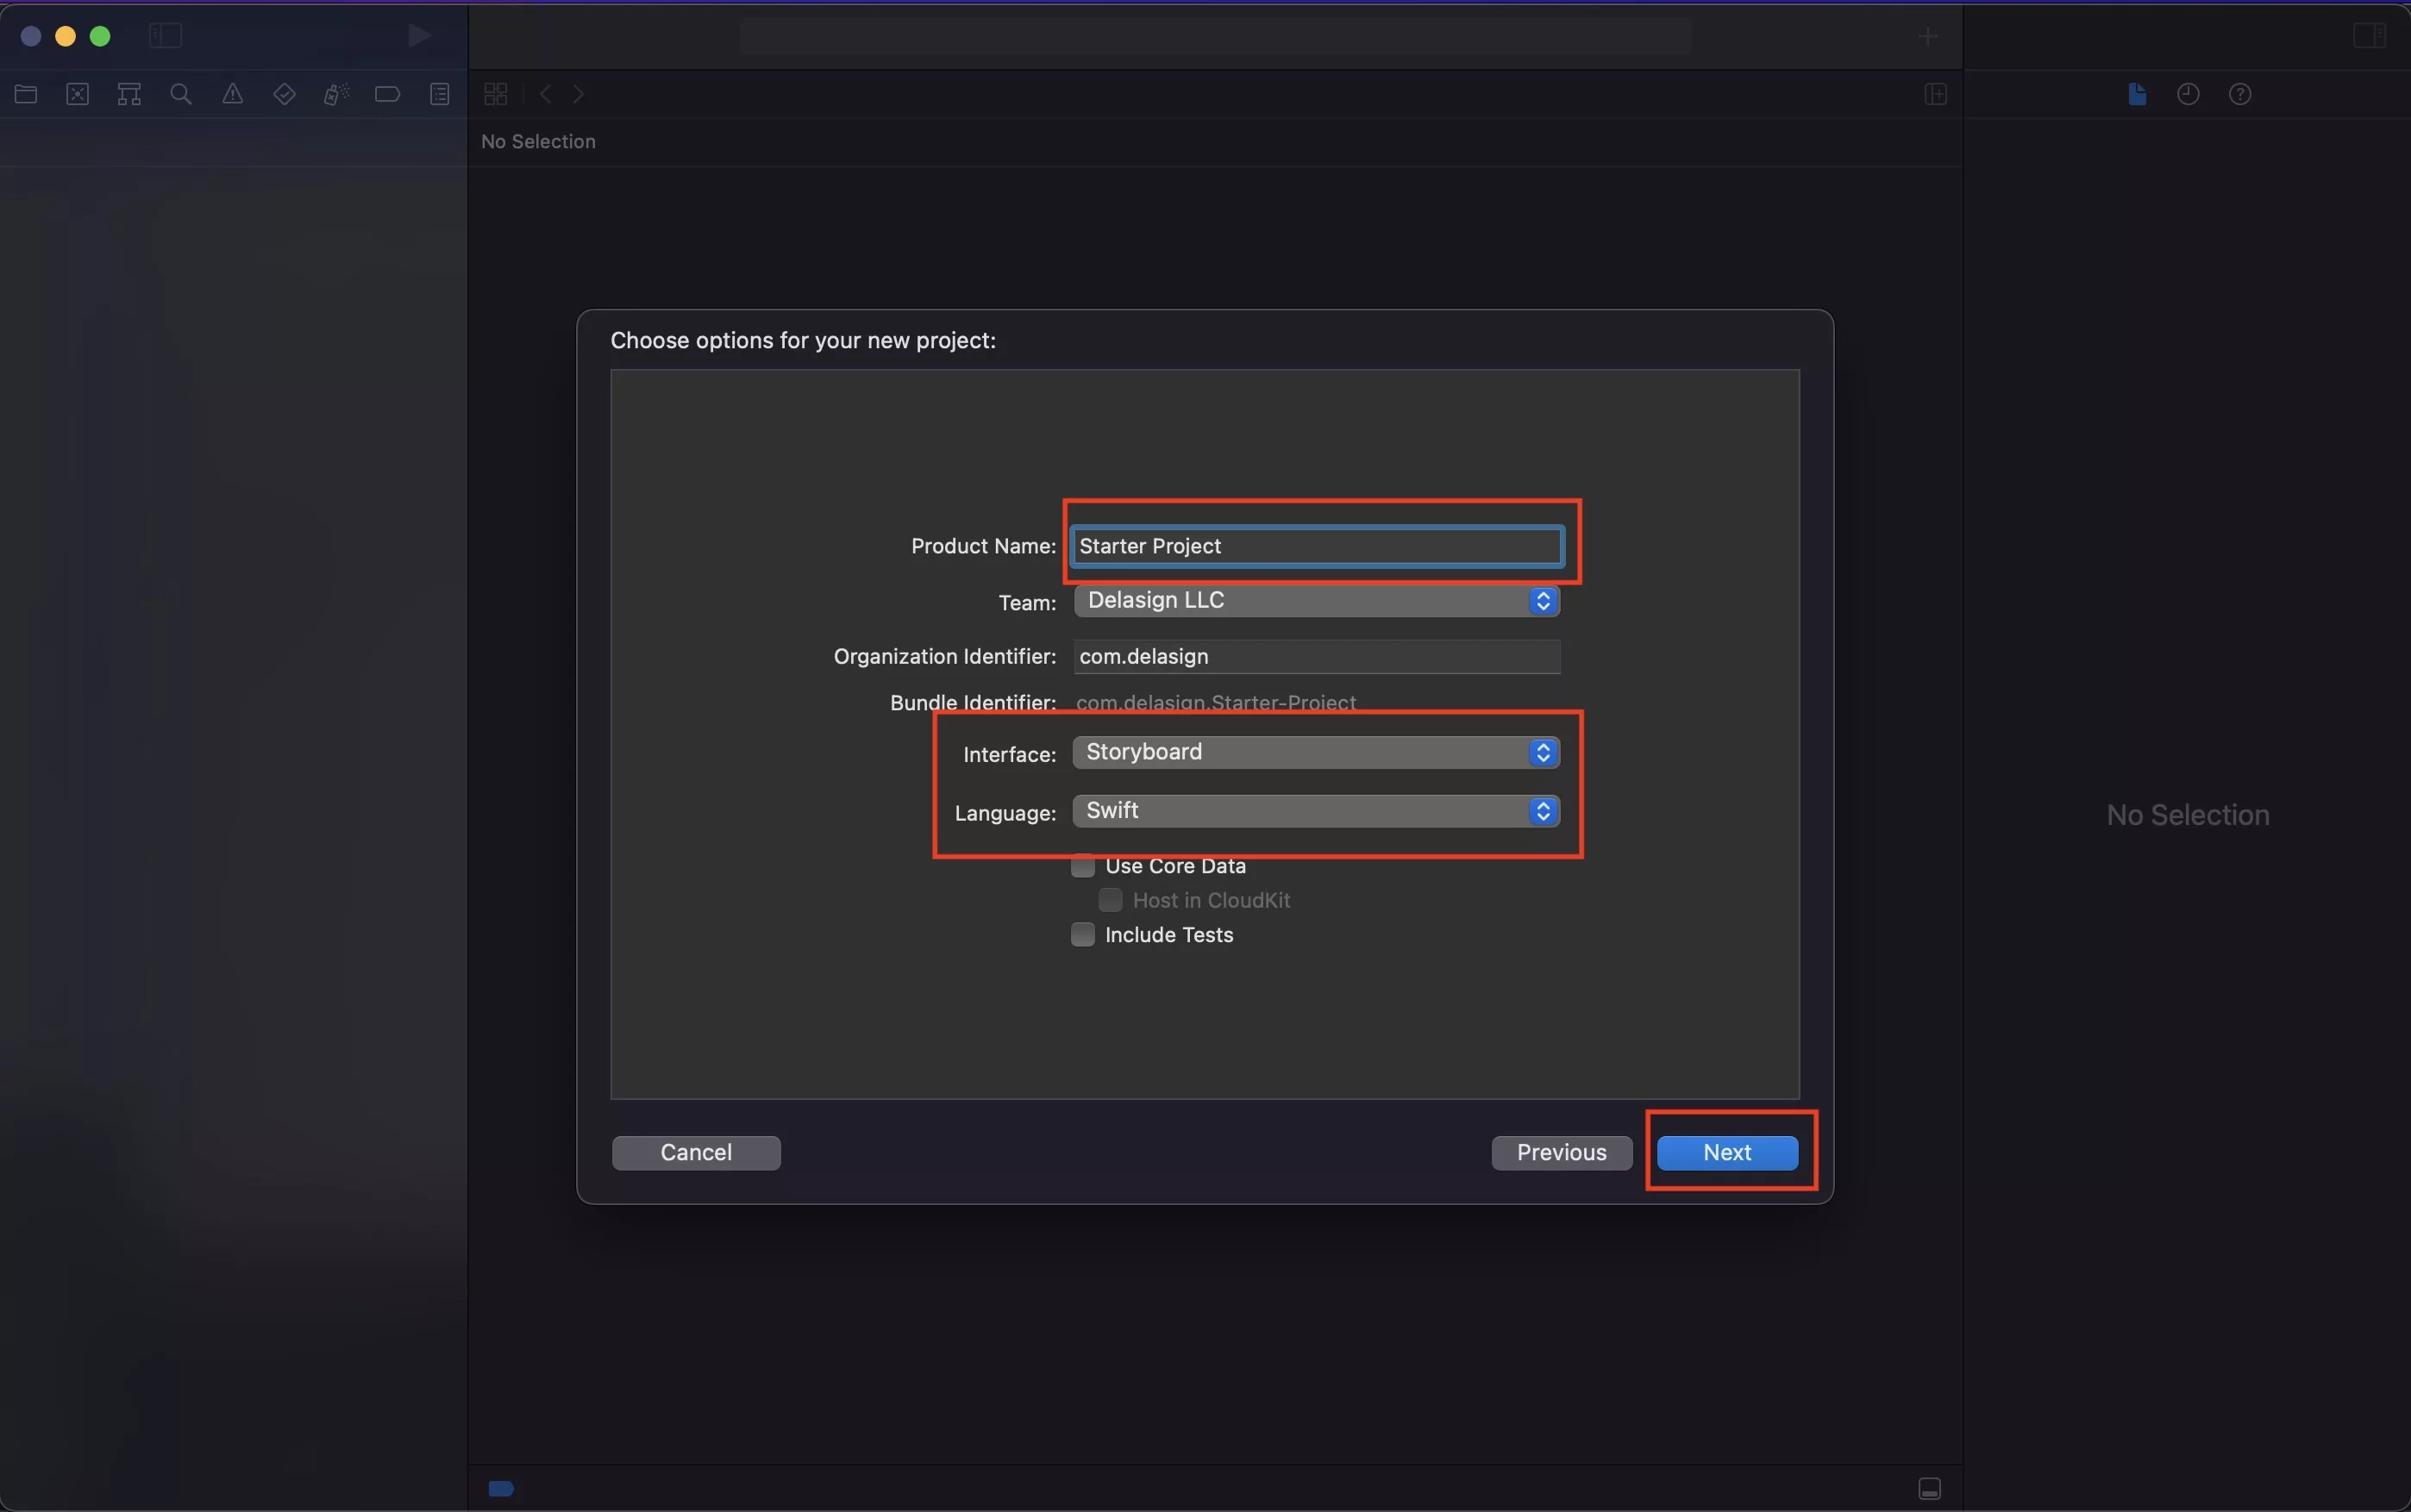
Next to product name, name your project. In our case we called it Starter Project.
Please note that we use a Storyboard Interface and the Swift Language.
Once ready press Next.
Step Five: Save your project
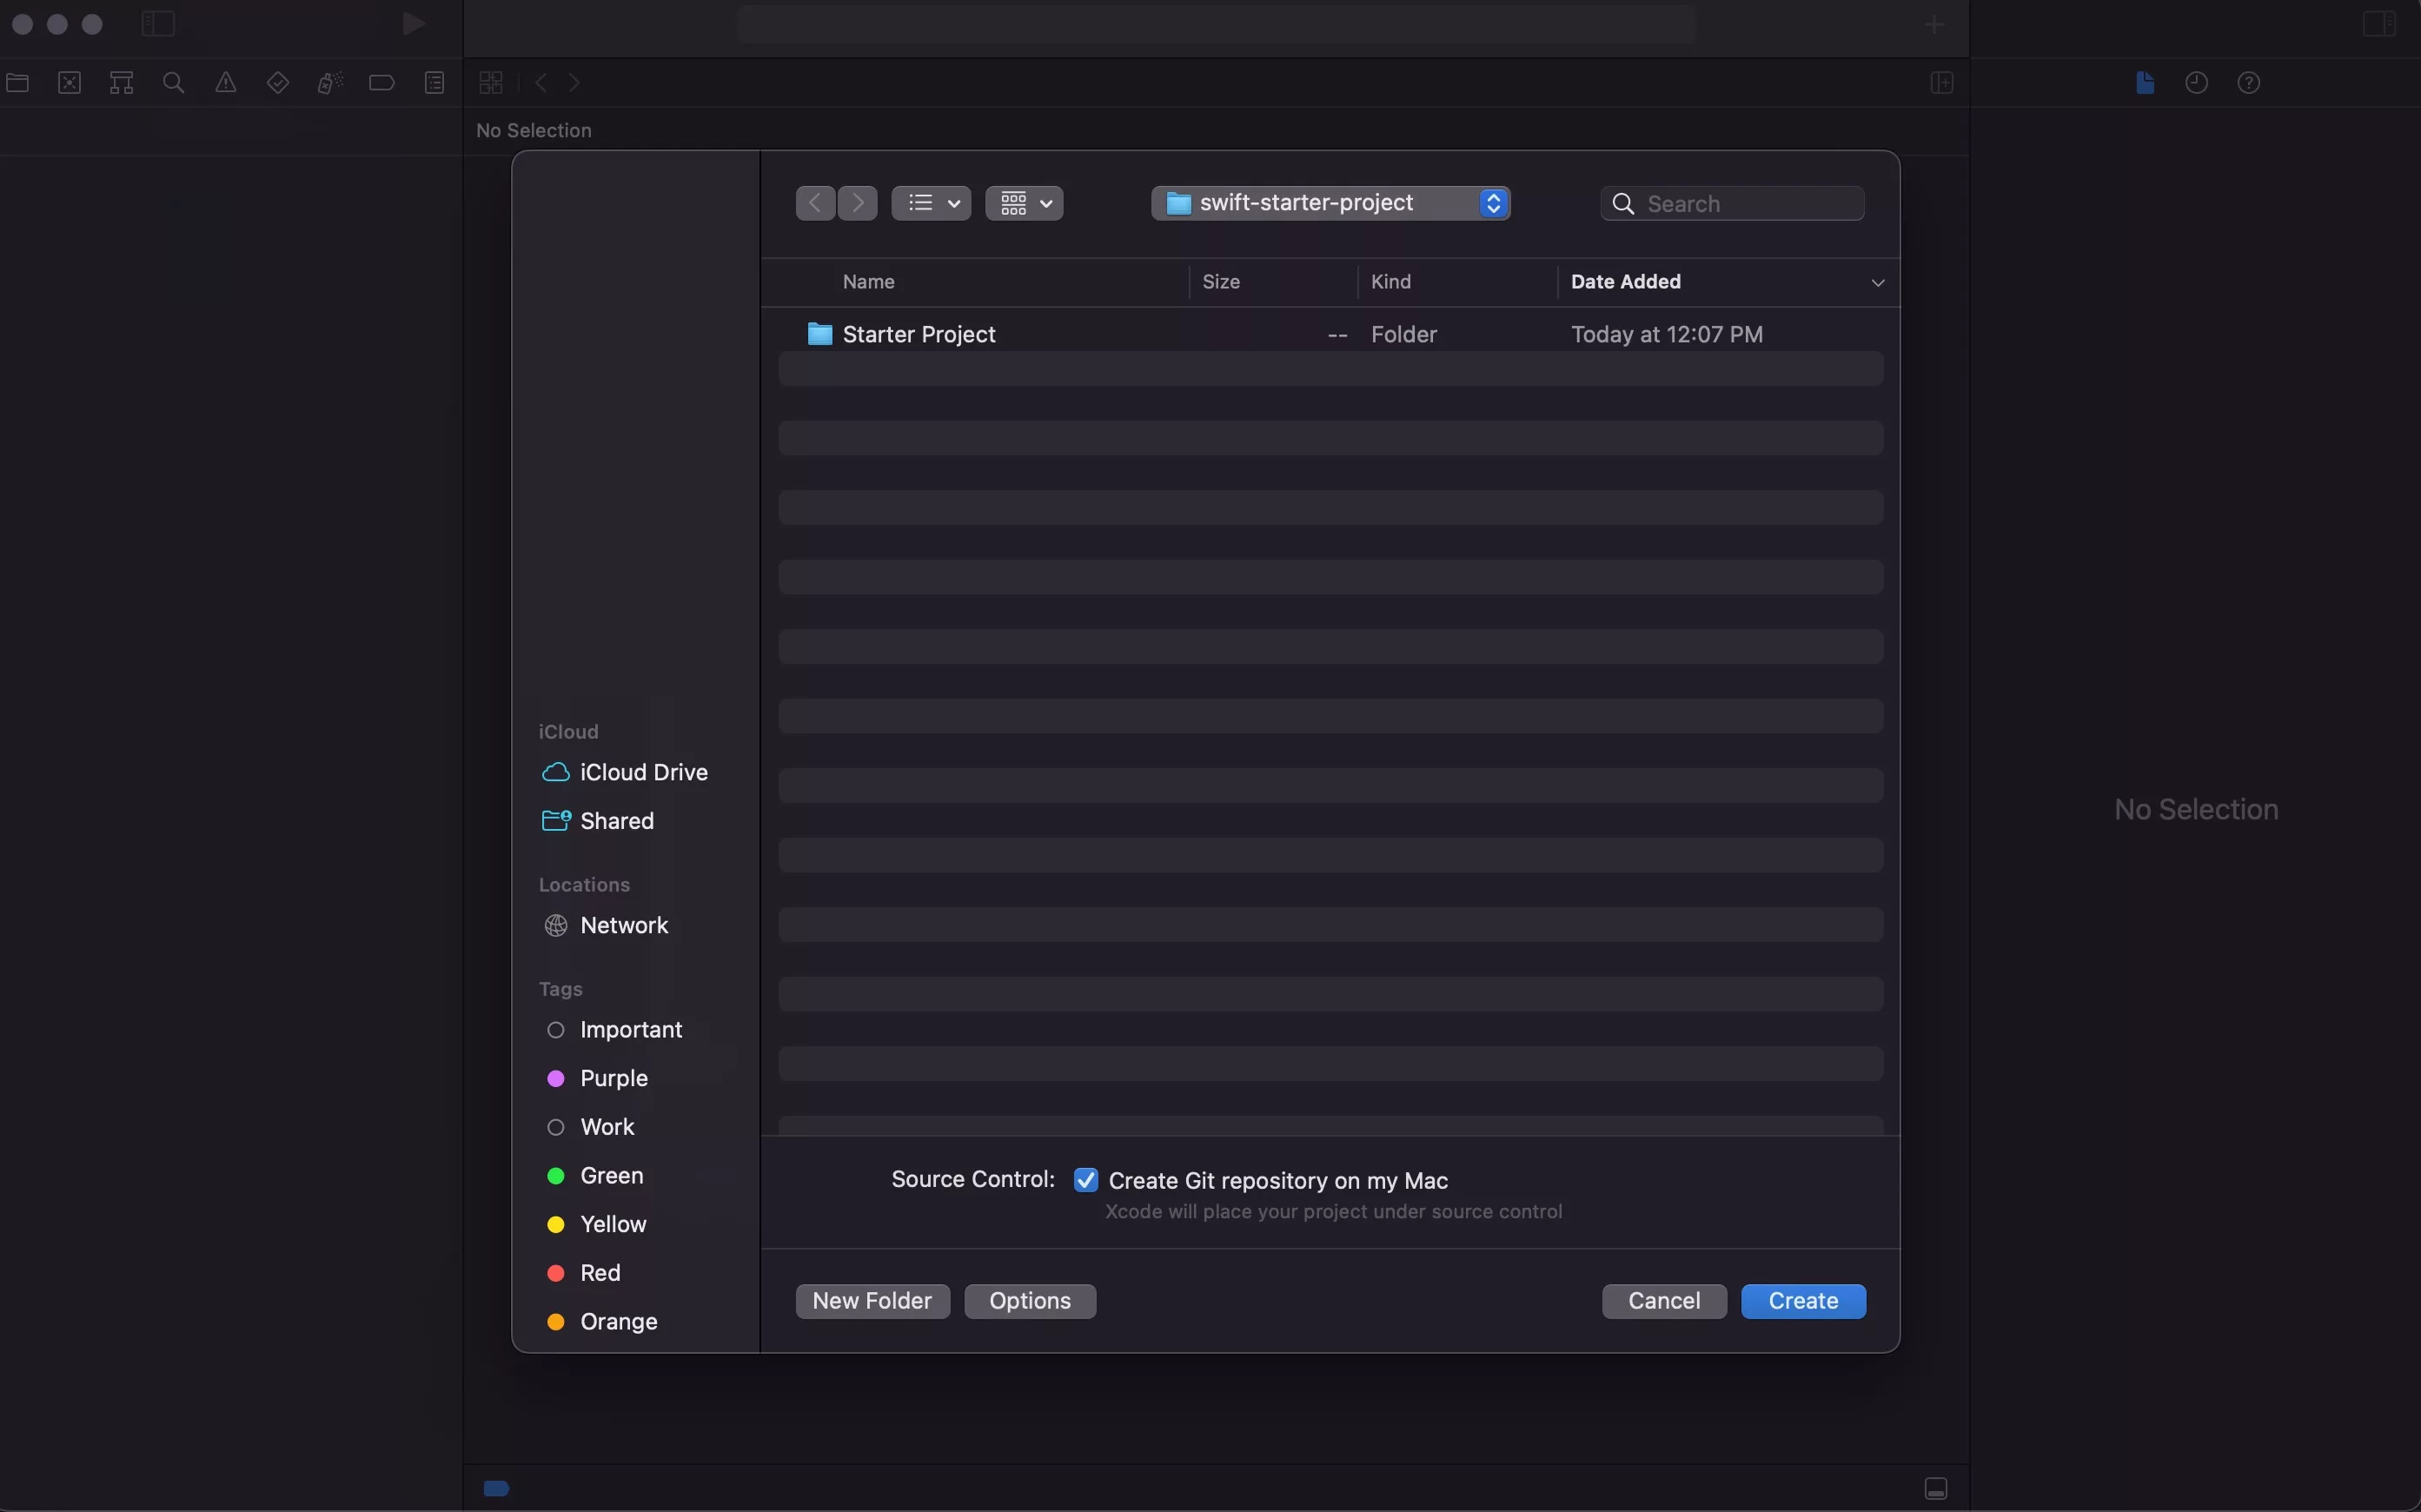
In your chosen destination, save your project.
Step Six: Install SwiftLint
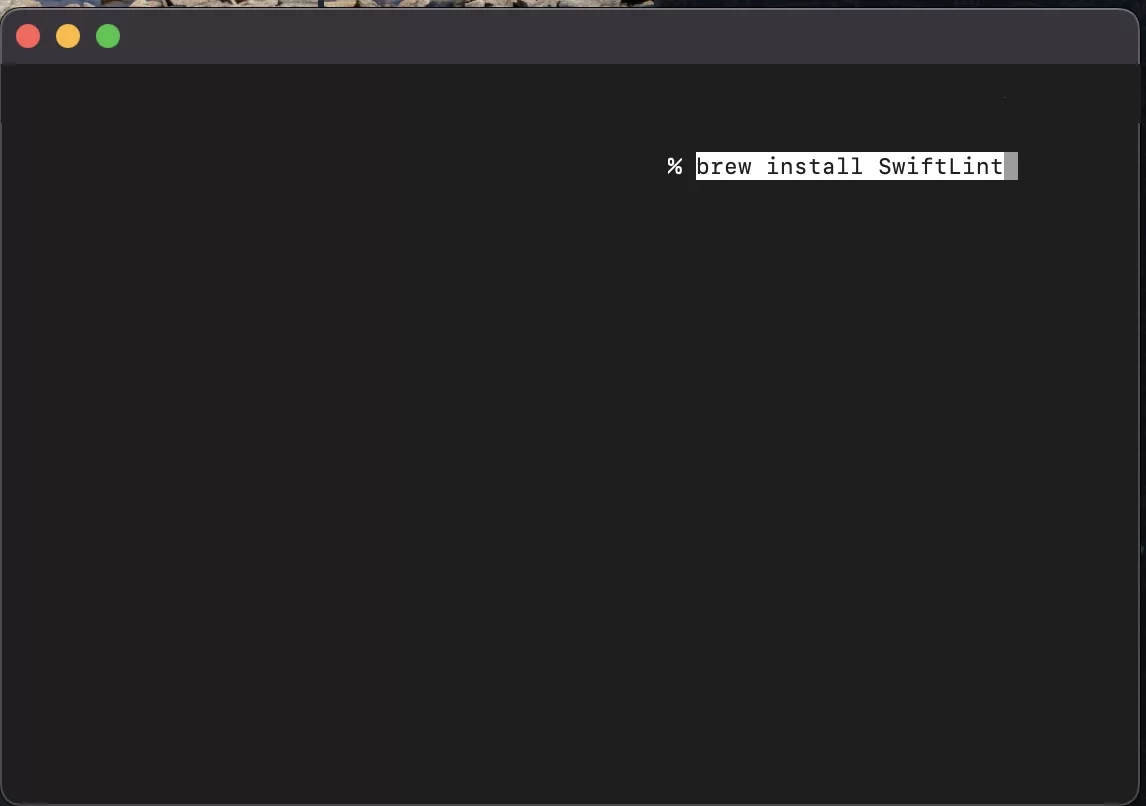
Open Terminal and run the following command
brew install SwiftLint
Please note this step assumes that you have HomeBrew installed.
Step Seven: Navigate to Build Phases
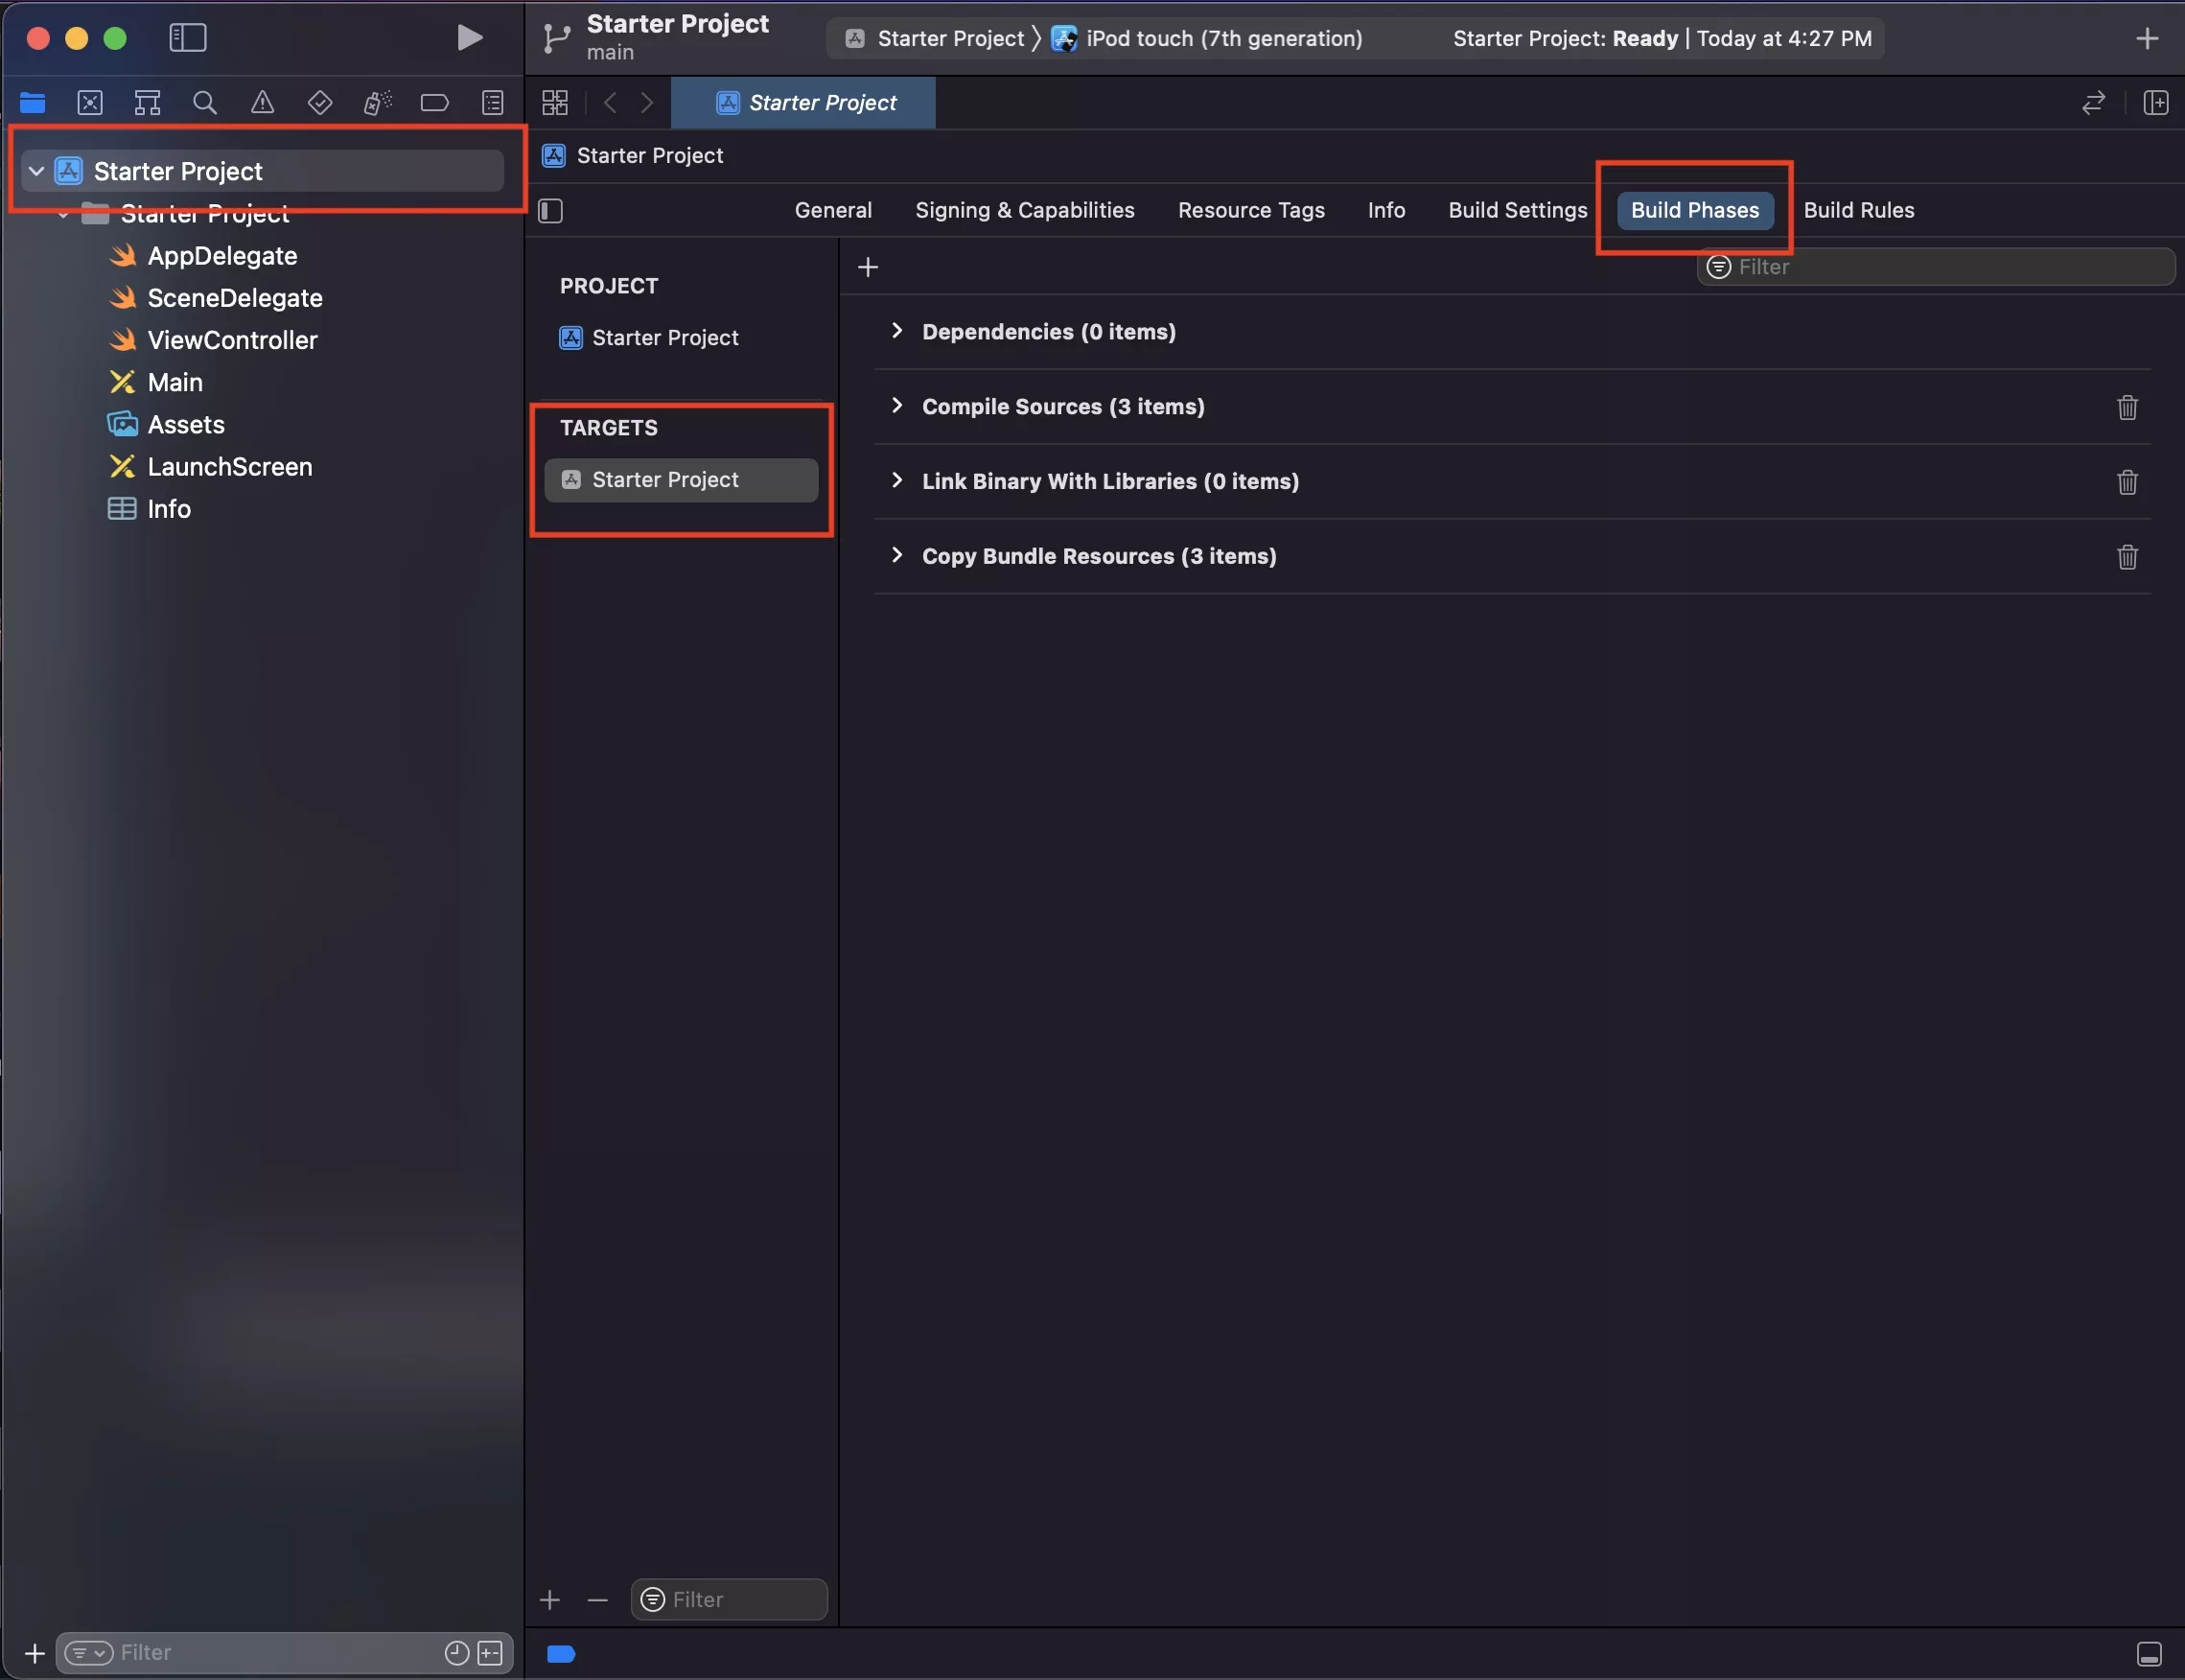
Go back to your project and select Build Phases.
If it is not visible, Select Starter Project with the App Logo from the file inspector, then under Targets select Starter Project and then Build Phases.
Step Eight: Add a new build phase
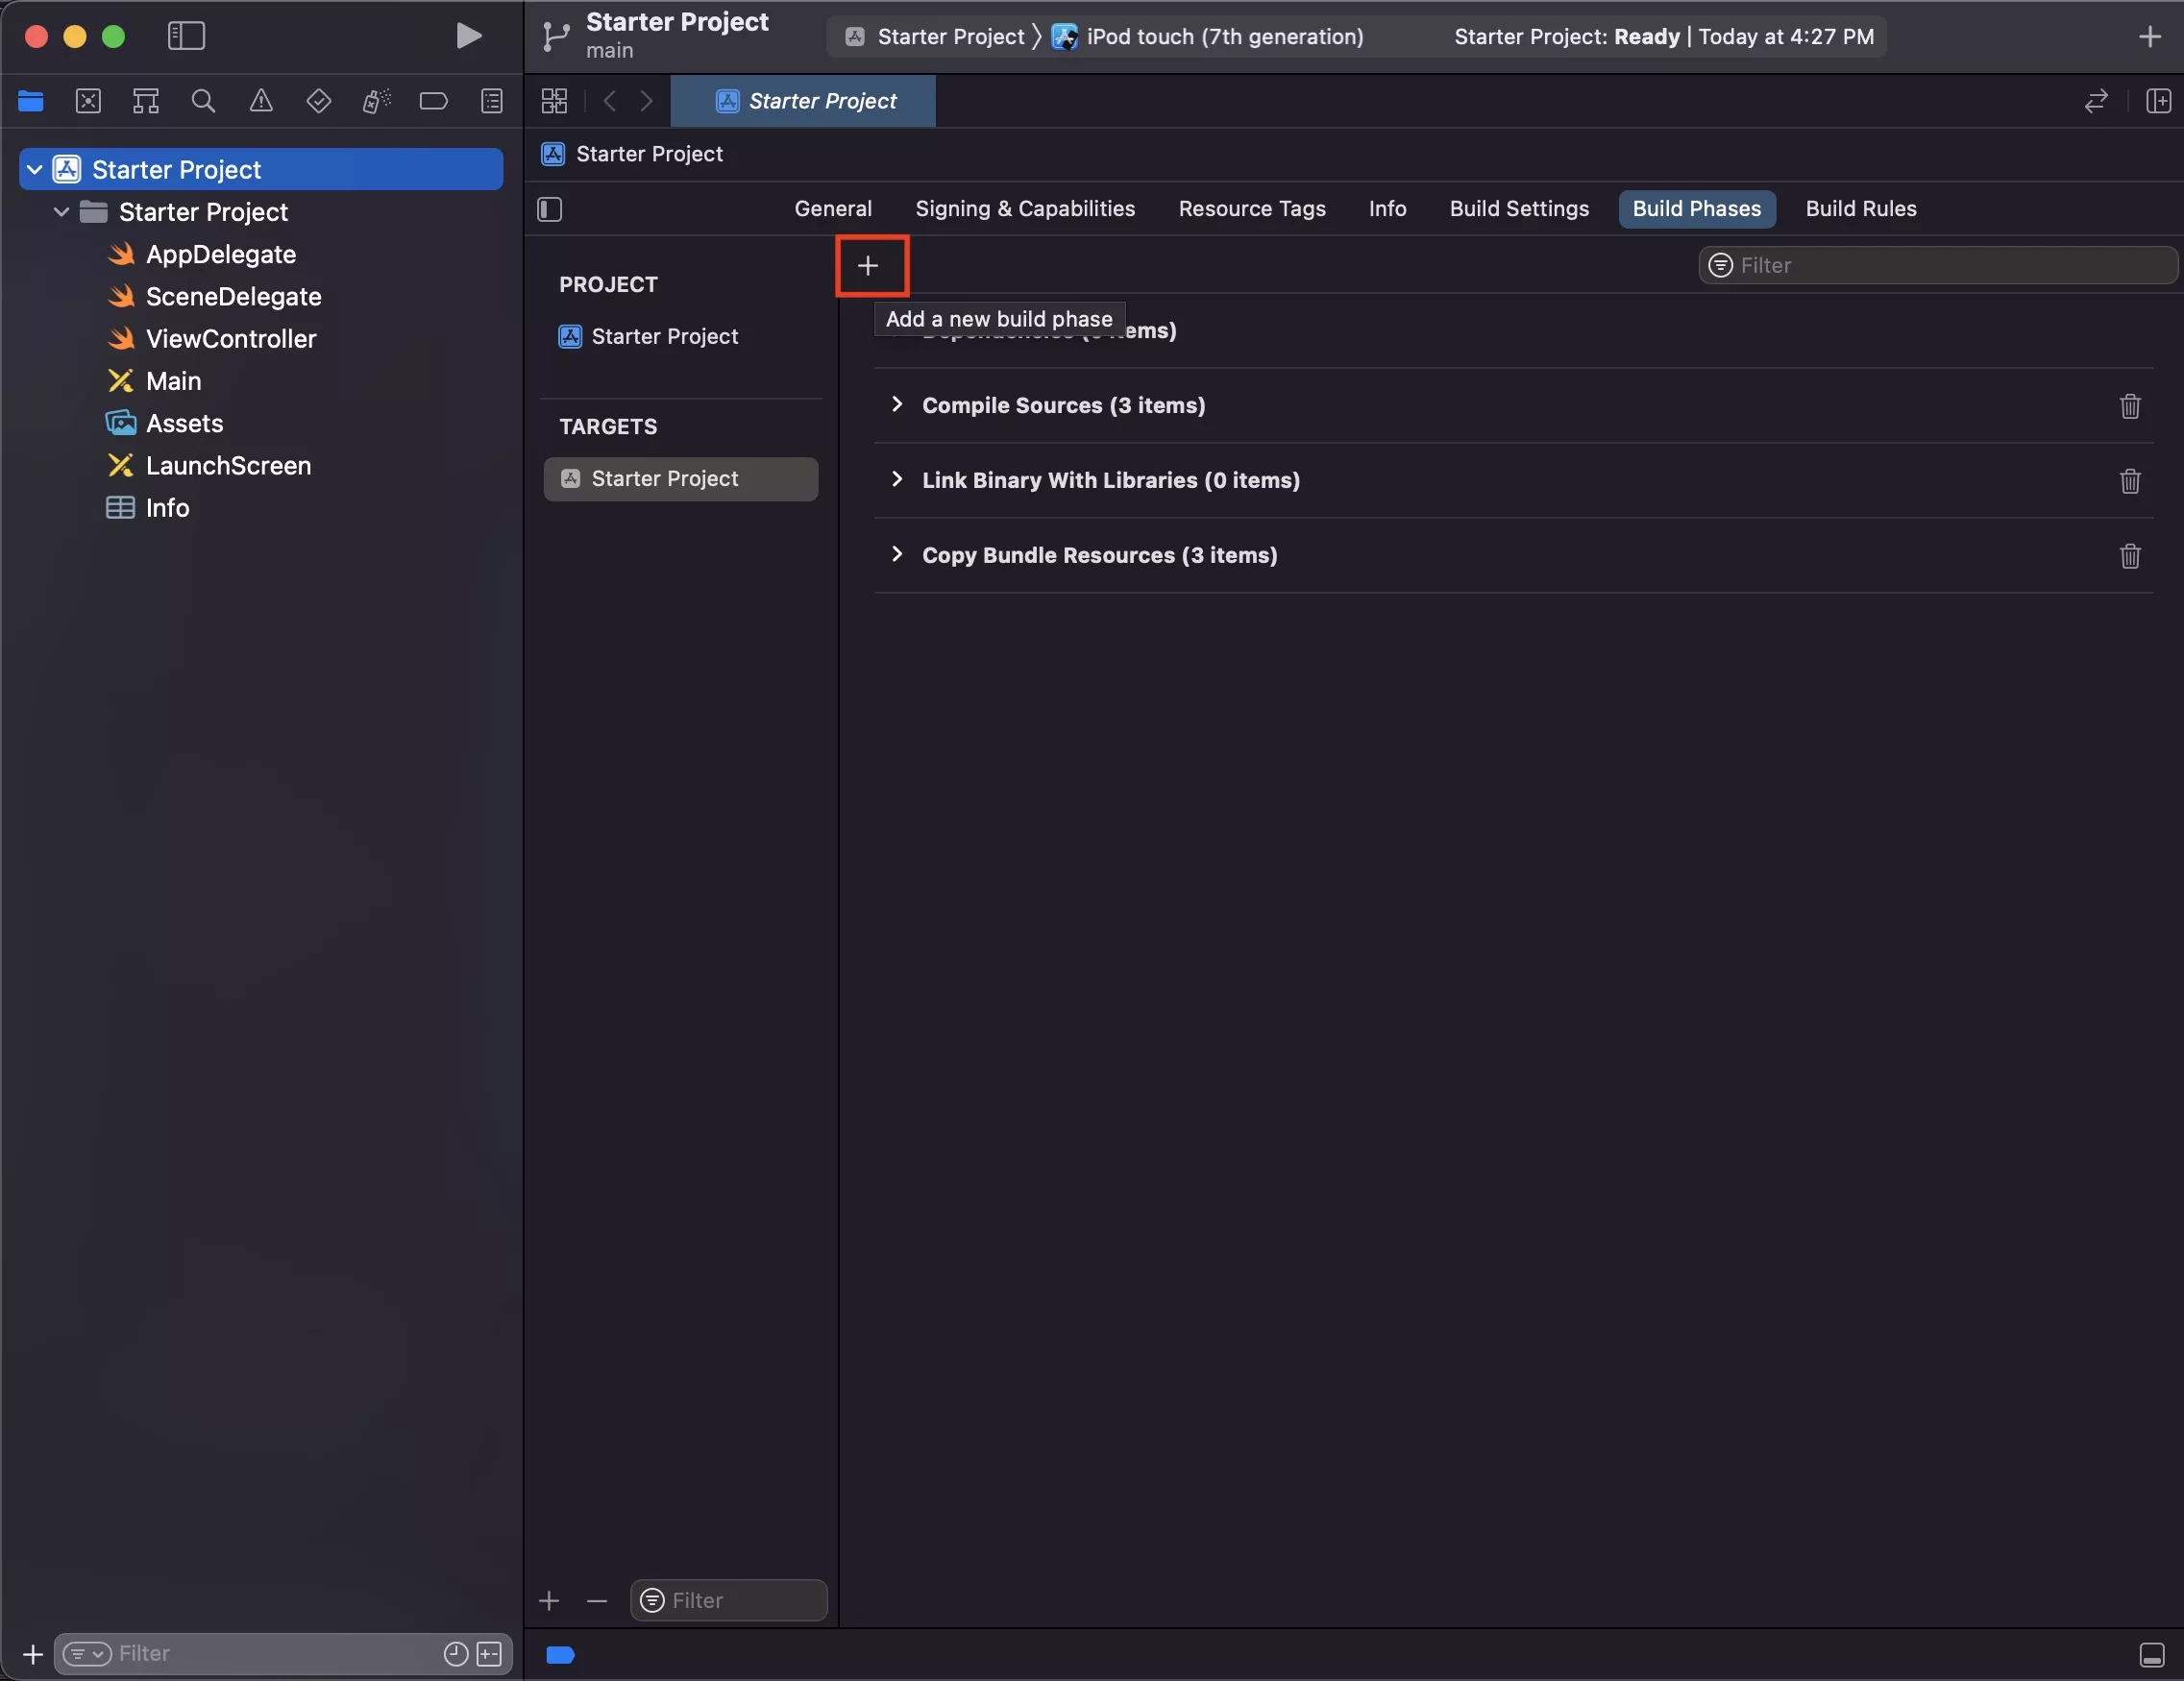
Select '+' under General.
Step Nine: Add a new run script phase
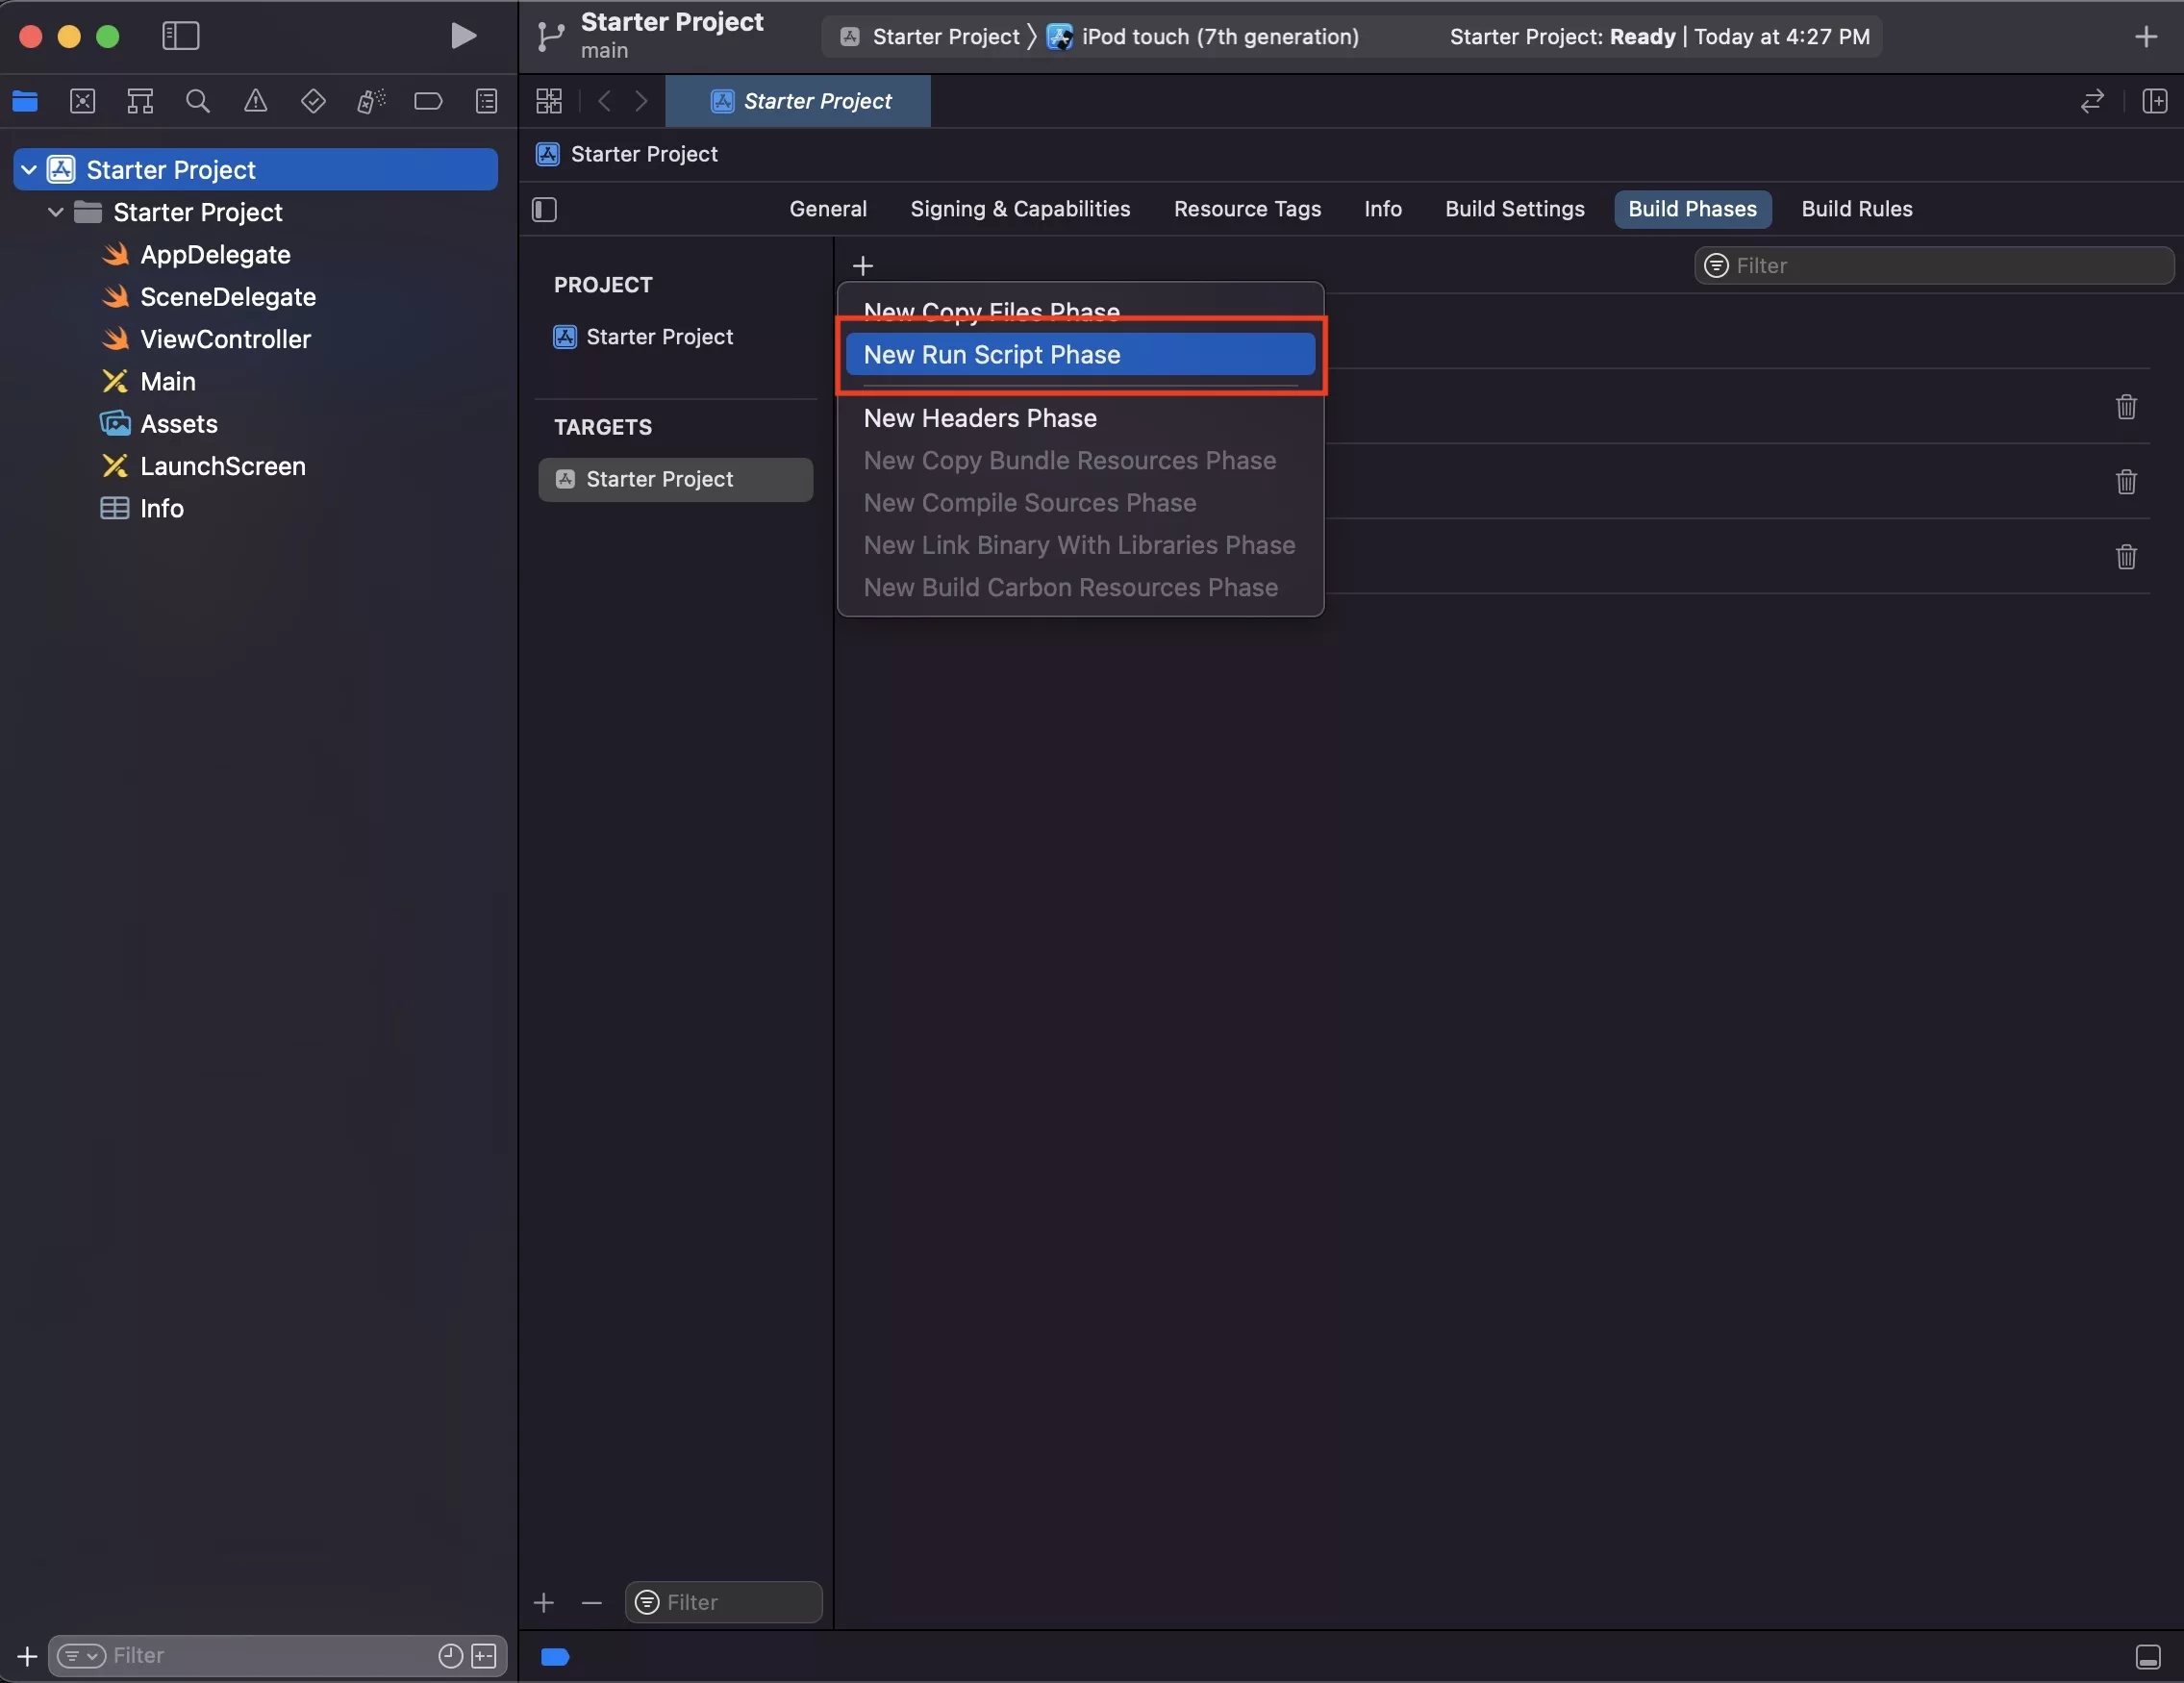
From the pop up that appears, select New Run Script Phase.
Step Ten: Open the Run Script tab
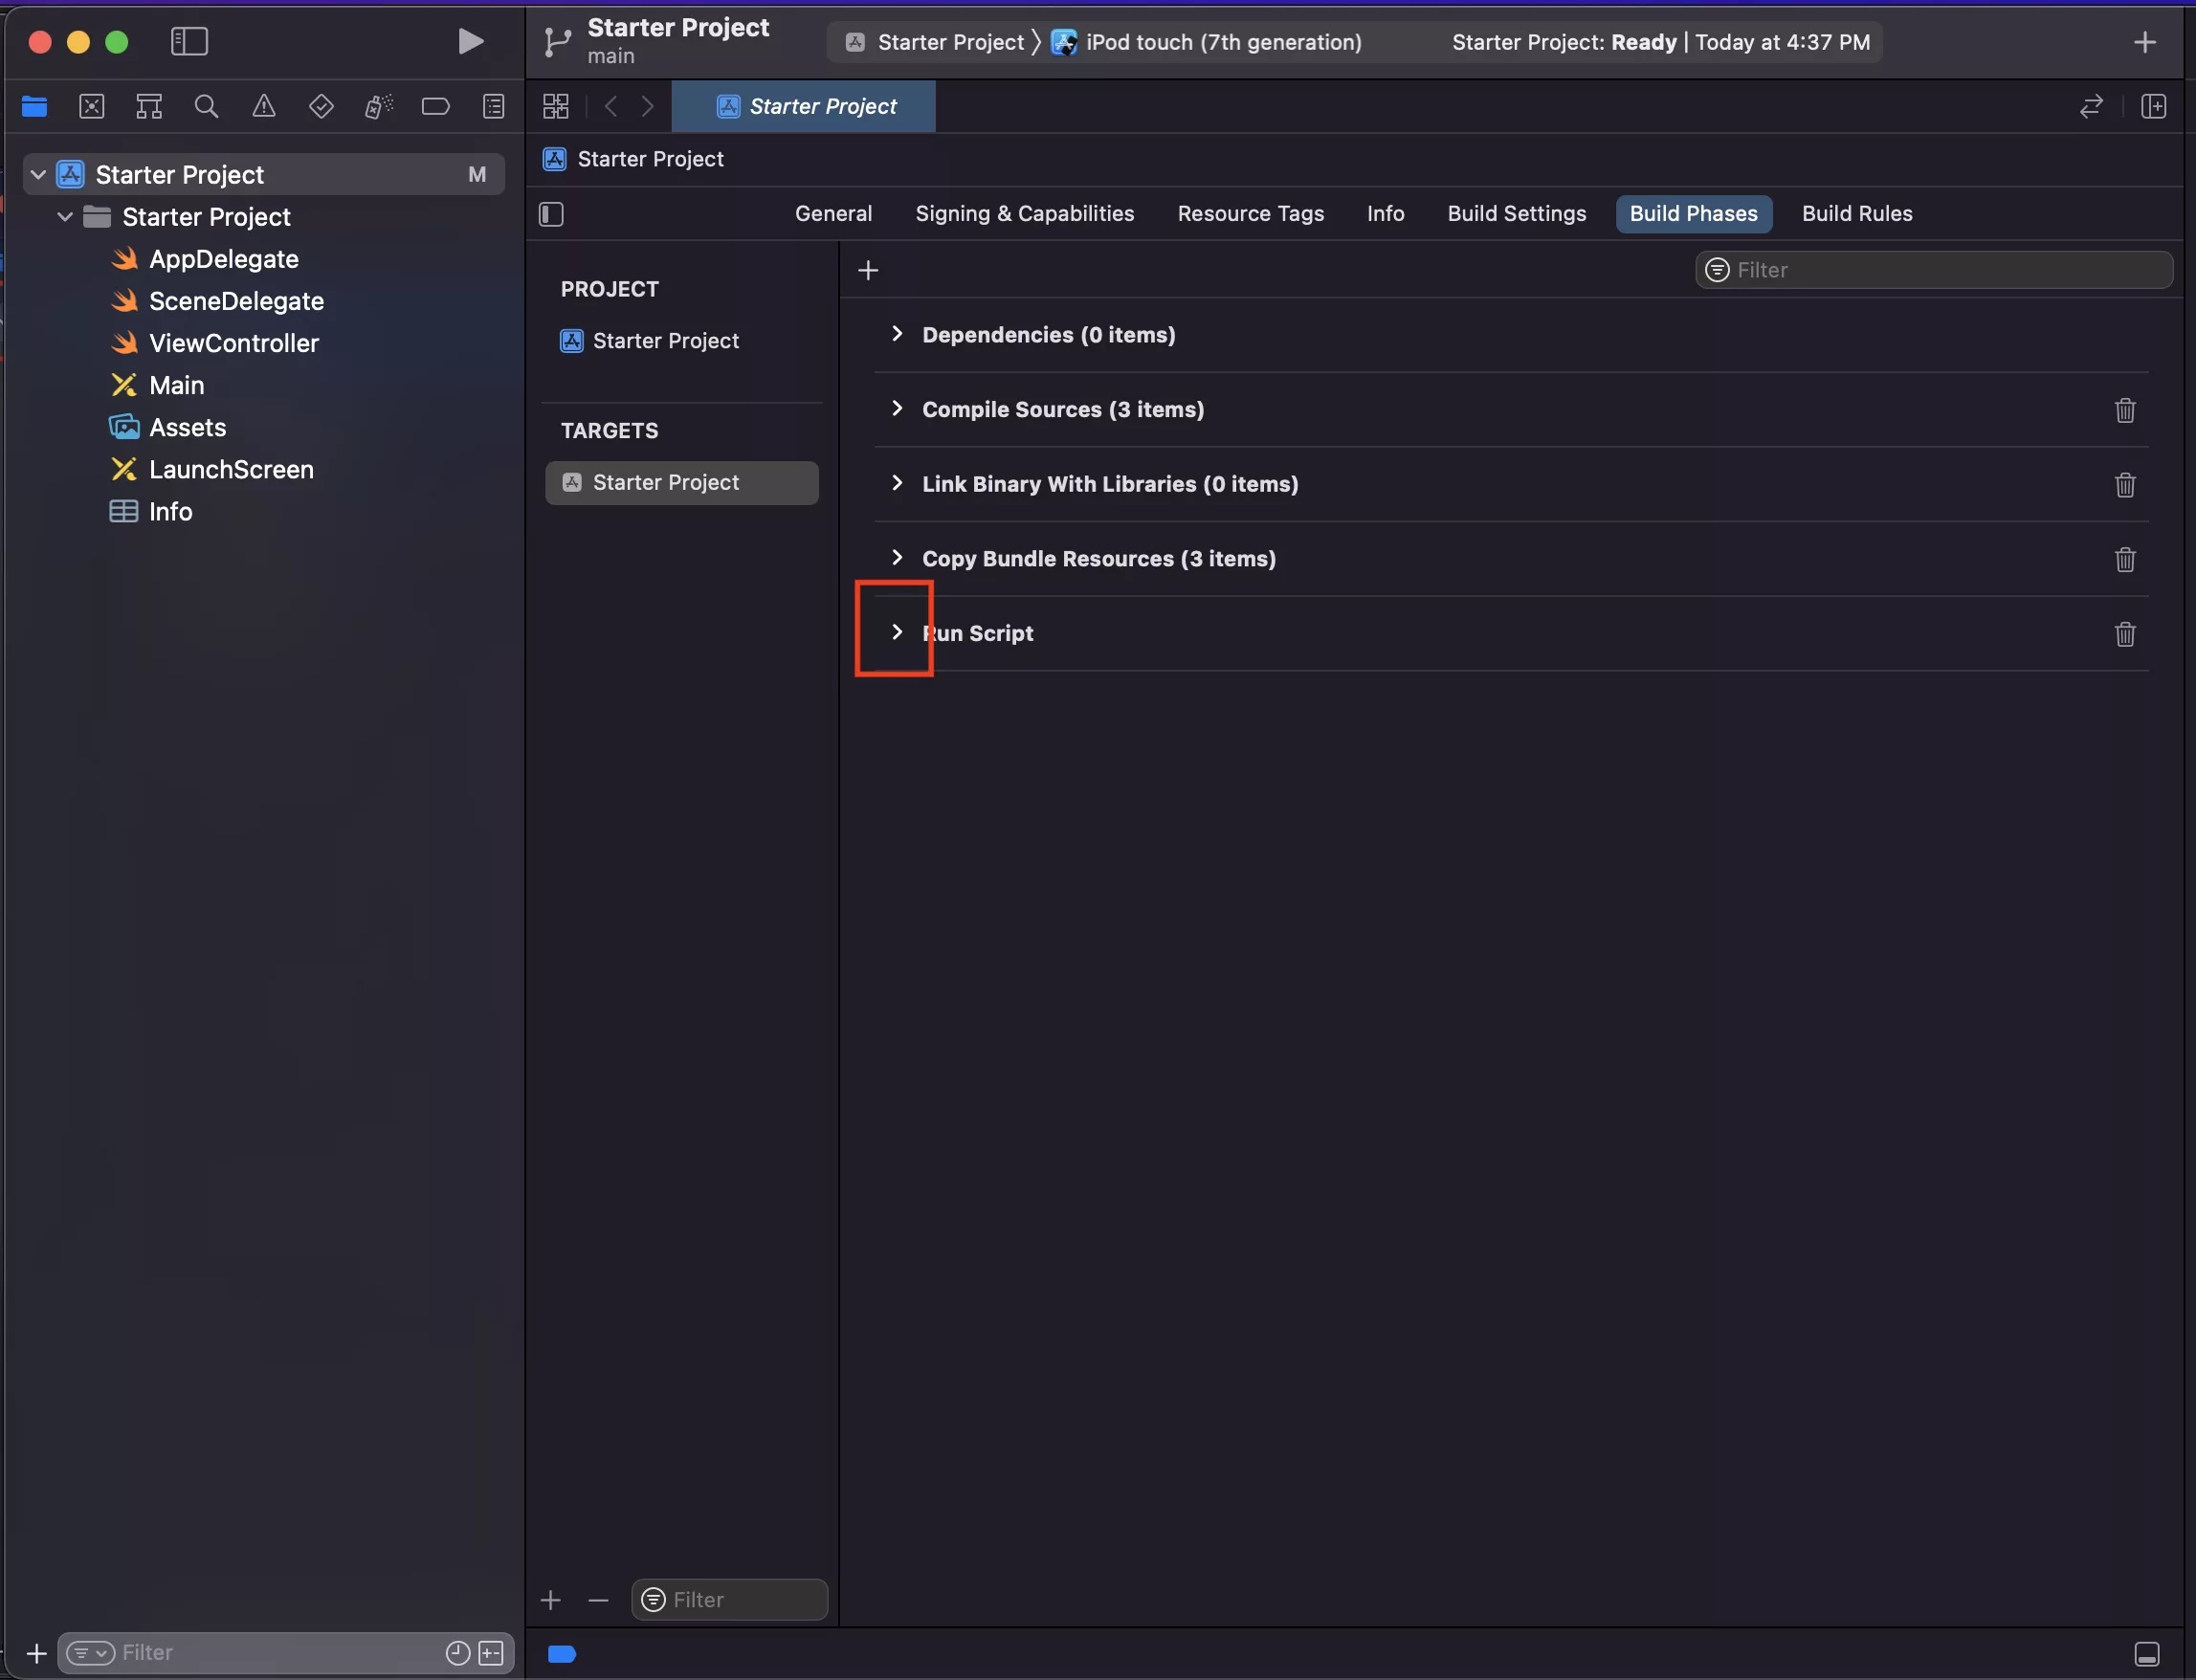
Press the caret next to Run Script to open up the tab.
Step Eleven: Paste in the SwiftLint with autocorrect & format
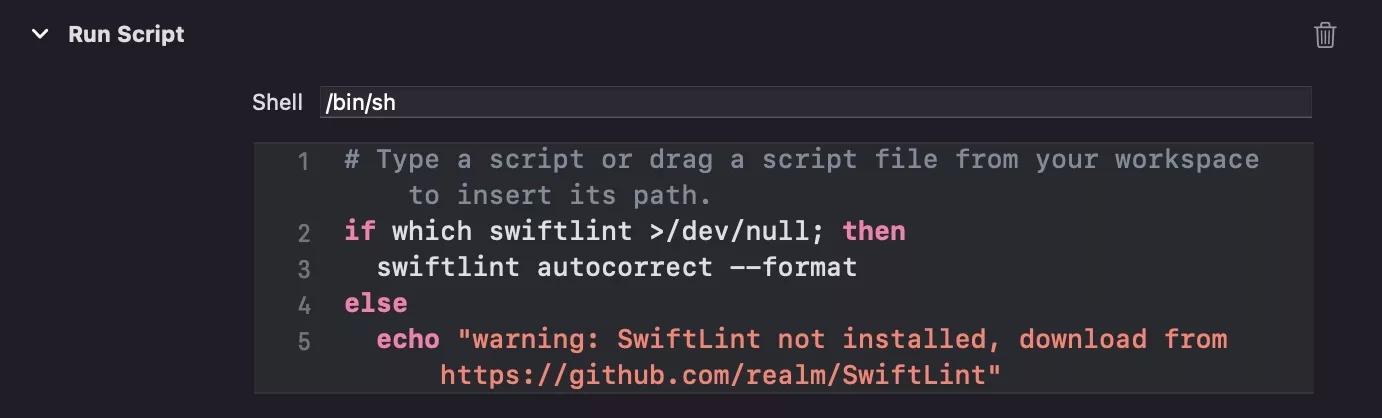
Under the shell area, paste in the code below. This code will autocorrect and format your swift project on build.
Please note that you must uncomment line 2 for it to work on Apple Silicon.
Step Twelve: Create your swiftlint.yml
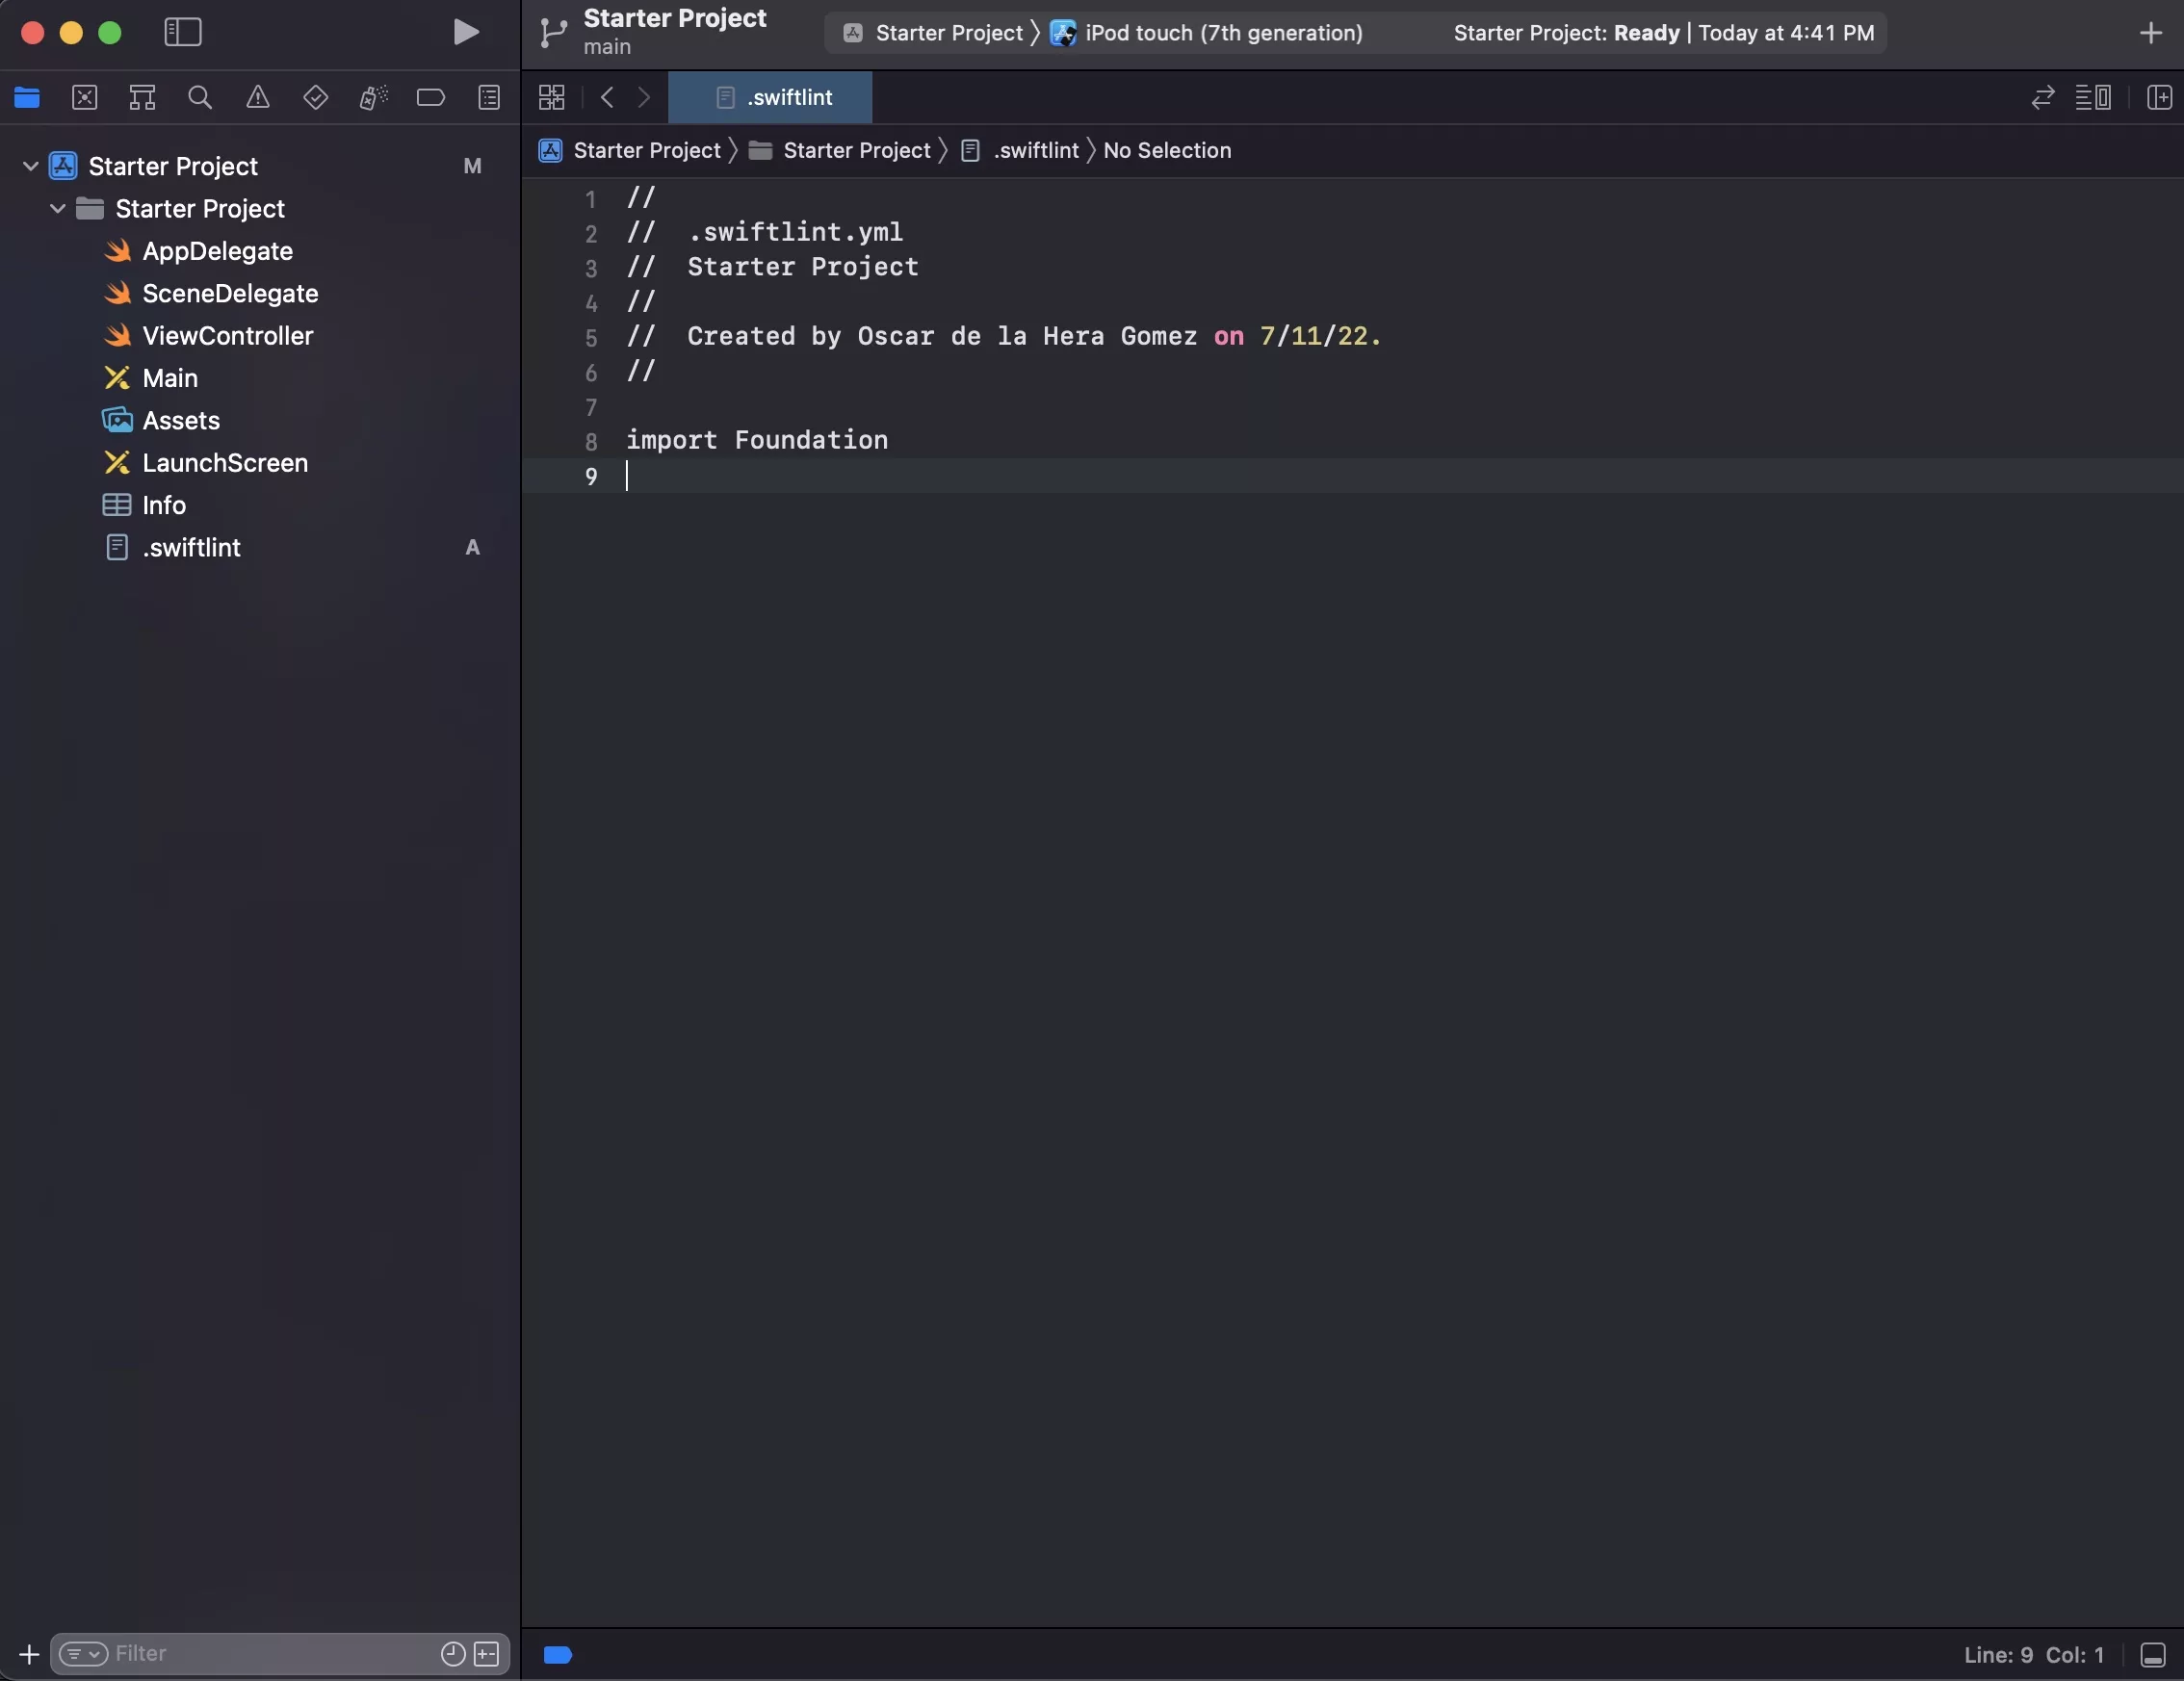
Create your SwiftLint yaml file under your Starter Project Folder - we created a swift file and on save, named it .swiftlint.yml.
Step Thirteen: Input your configuration

This is the file that dictates your SwiftLint strategy. Ours includes indentation width, explicit self and operater usage whitespace.
For a full list, please visit the SwiftLint repository in the button below.
Verify by making changes and running a build
You should see your project auto update to reflect changes upon building.
Please note that it may not automatically lint your open file every time and you might want to select a separate file when building.
Looking to implement SwiftLint in a pre-commit githook ?
To learn how to implement SwiftLint in a pre-commit githook that's added to the repository on build, carry out the tutorial linked below.
Looking for more XCode tutorials ?
Search our blog to discover our 100+ iOS, Xcode and Apple related content.
Any questions?
We are actively looking for feedback on how to improve this resource. Please send us a note to inquiries@delasign.com with any thoughts or feedback you may have.