How to use an image within a storyboard in XCode

Oscar de la Hera Gomez
A flower that represents Xcode with the text "Add an Image to a Storyboard" beneath it.

Add the image to the project and in a storyboard, add a UIImageView to a view and apply the image using the attributes inspector on the right menu sidebar.

Step One: Add the Images

A screenshot showing a finder window next to an XCode project. We have highlighted how you can drag and drop assets from the finder window into Xcode.

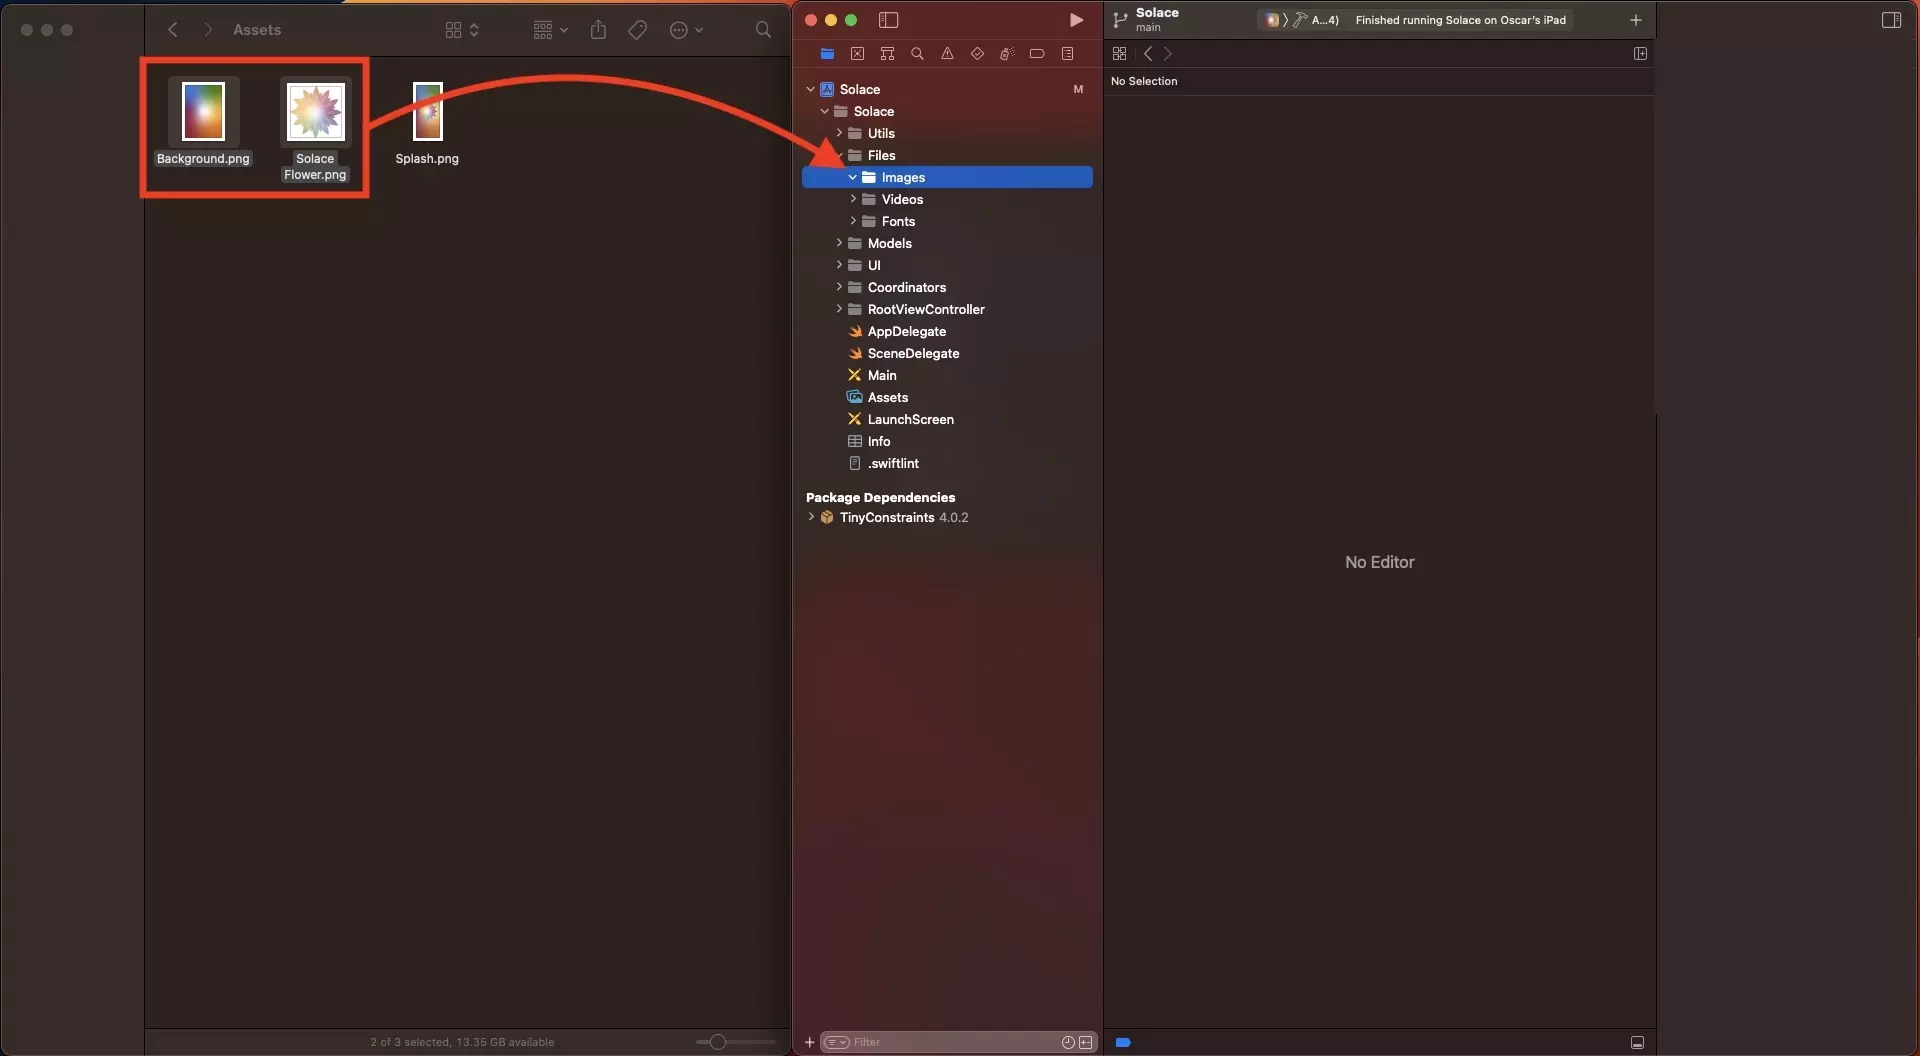
Add the image files directly to the project or to the projects xcassets.

Step Two: Add the UIImageView to the Storyboard

A screenshot of Xcode showing a launch screen storyboard file with an empty image view. This demonstrates that we successfully added an image view to the launch screen.

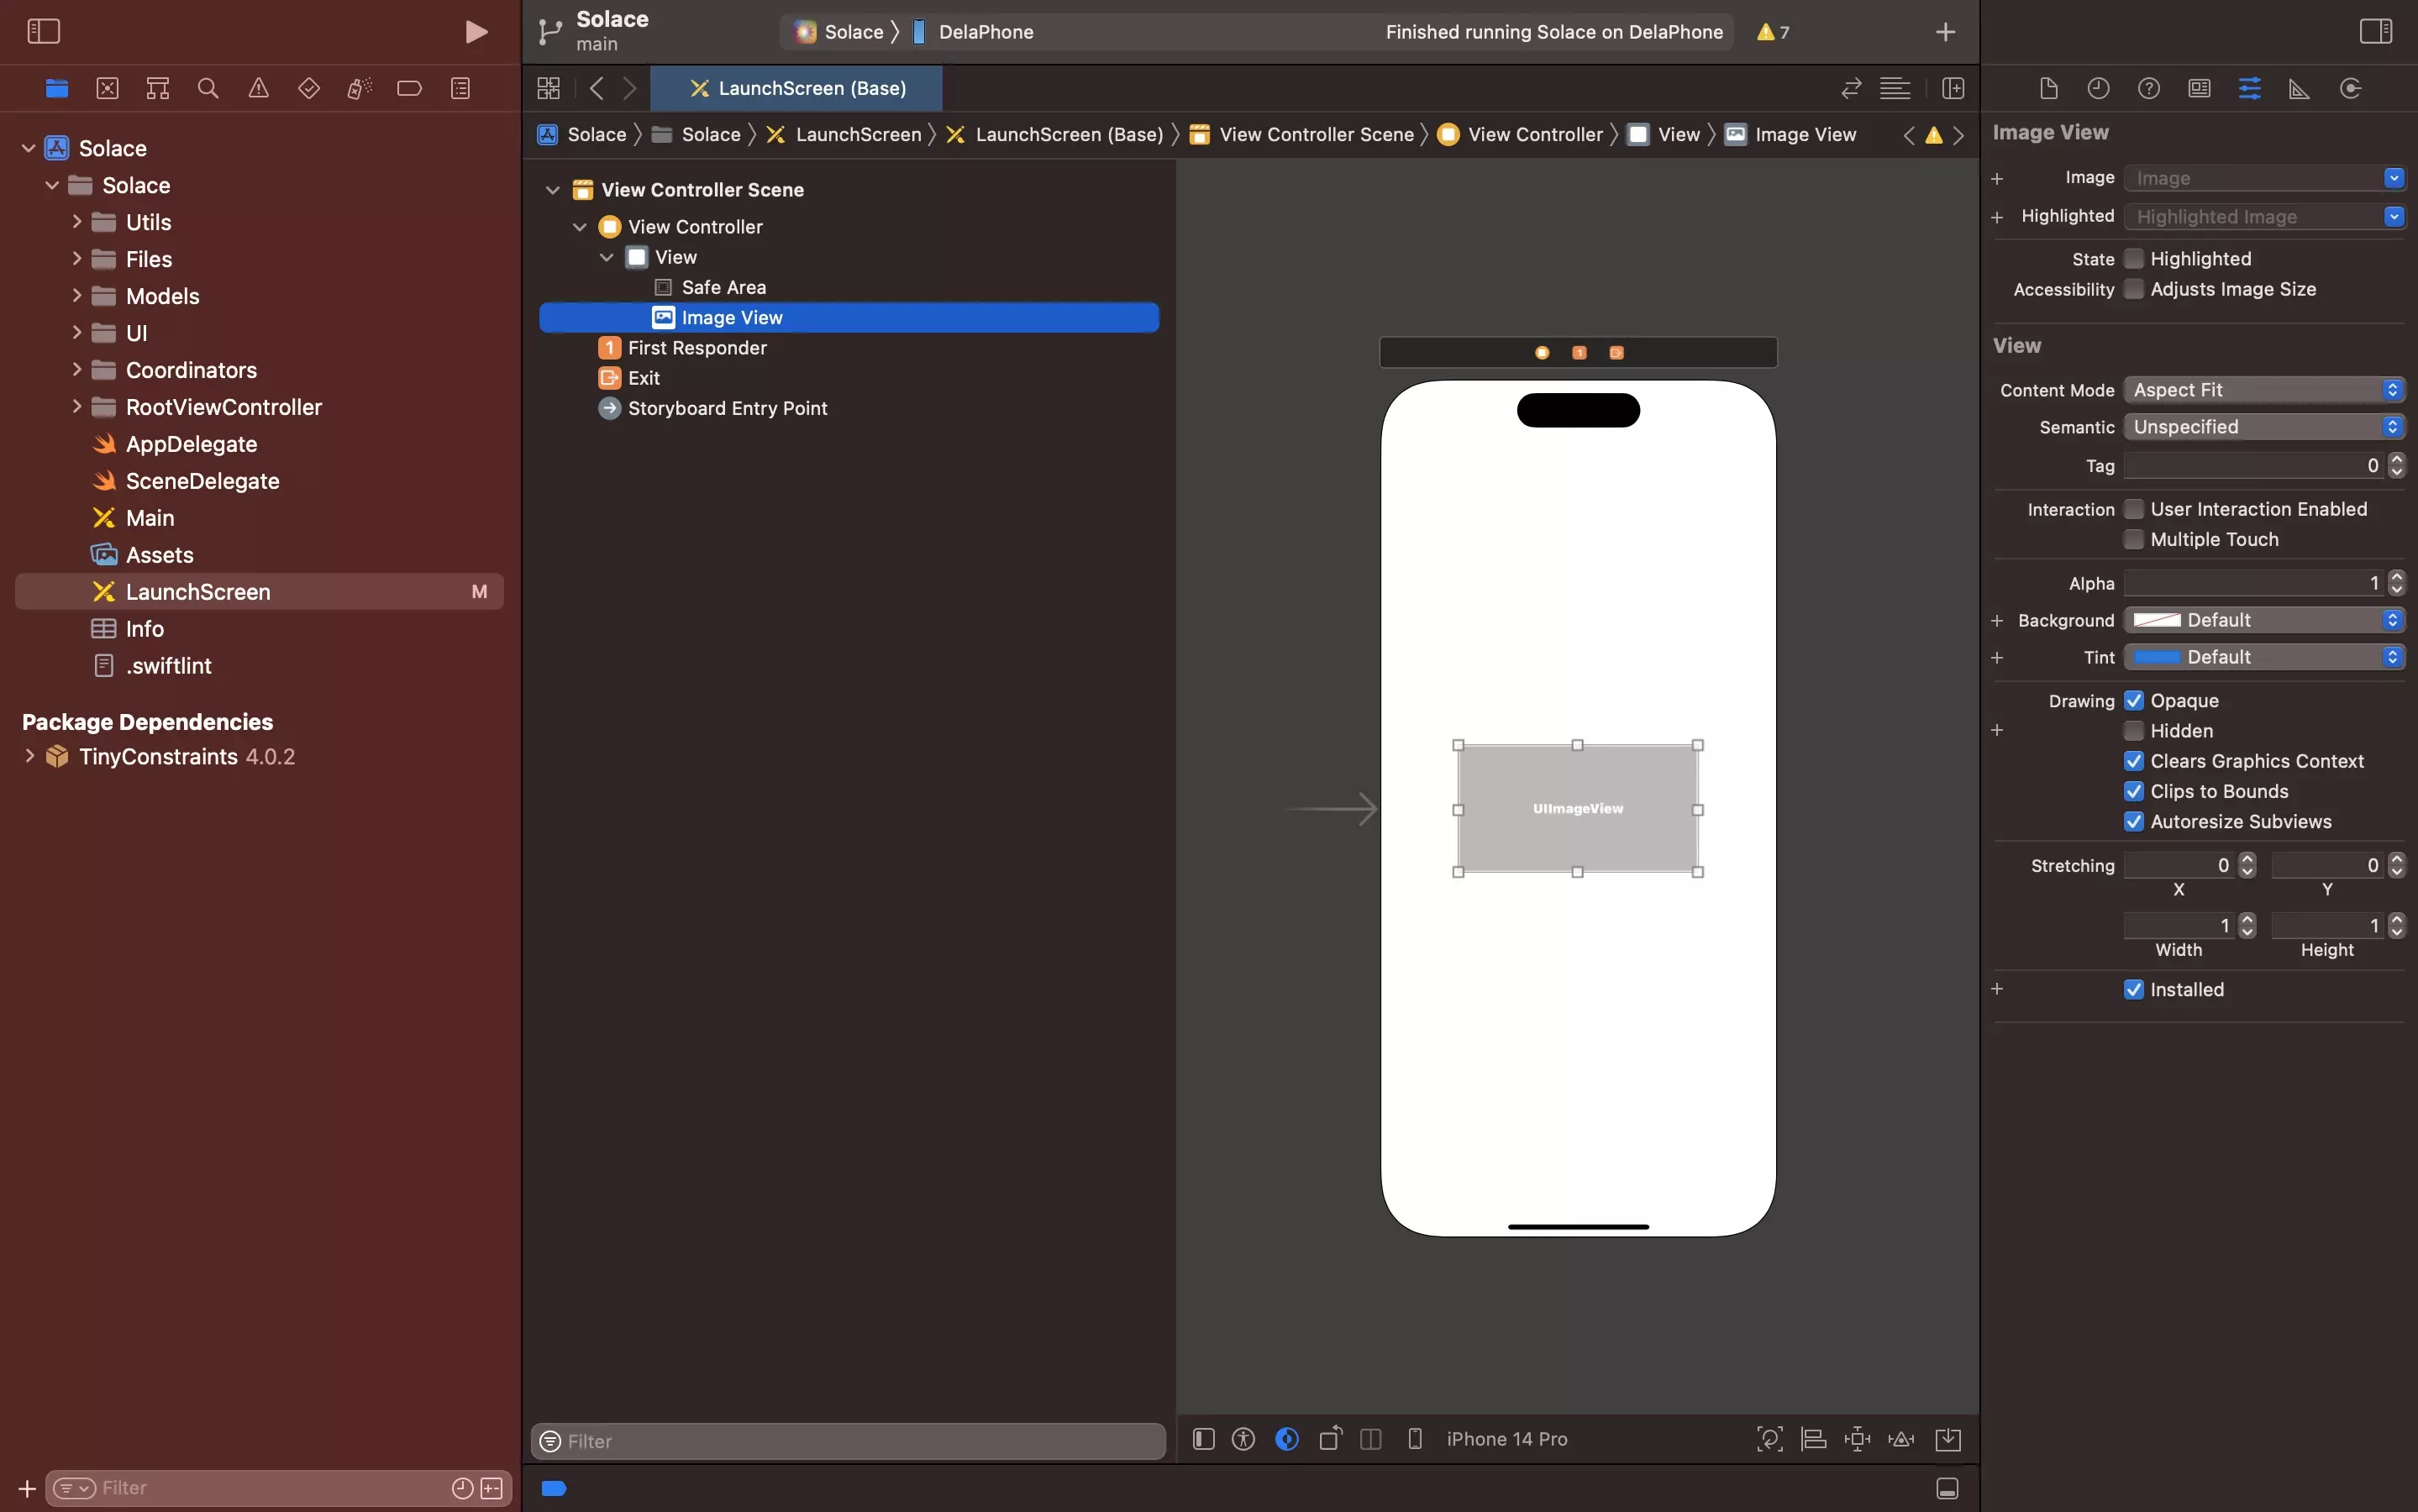
In a Storyboard within your project, add a UIImageView to a view.

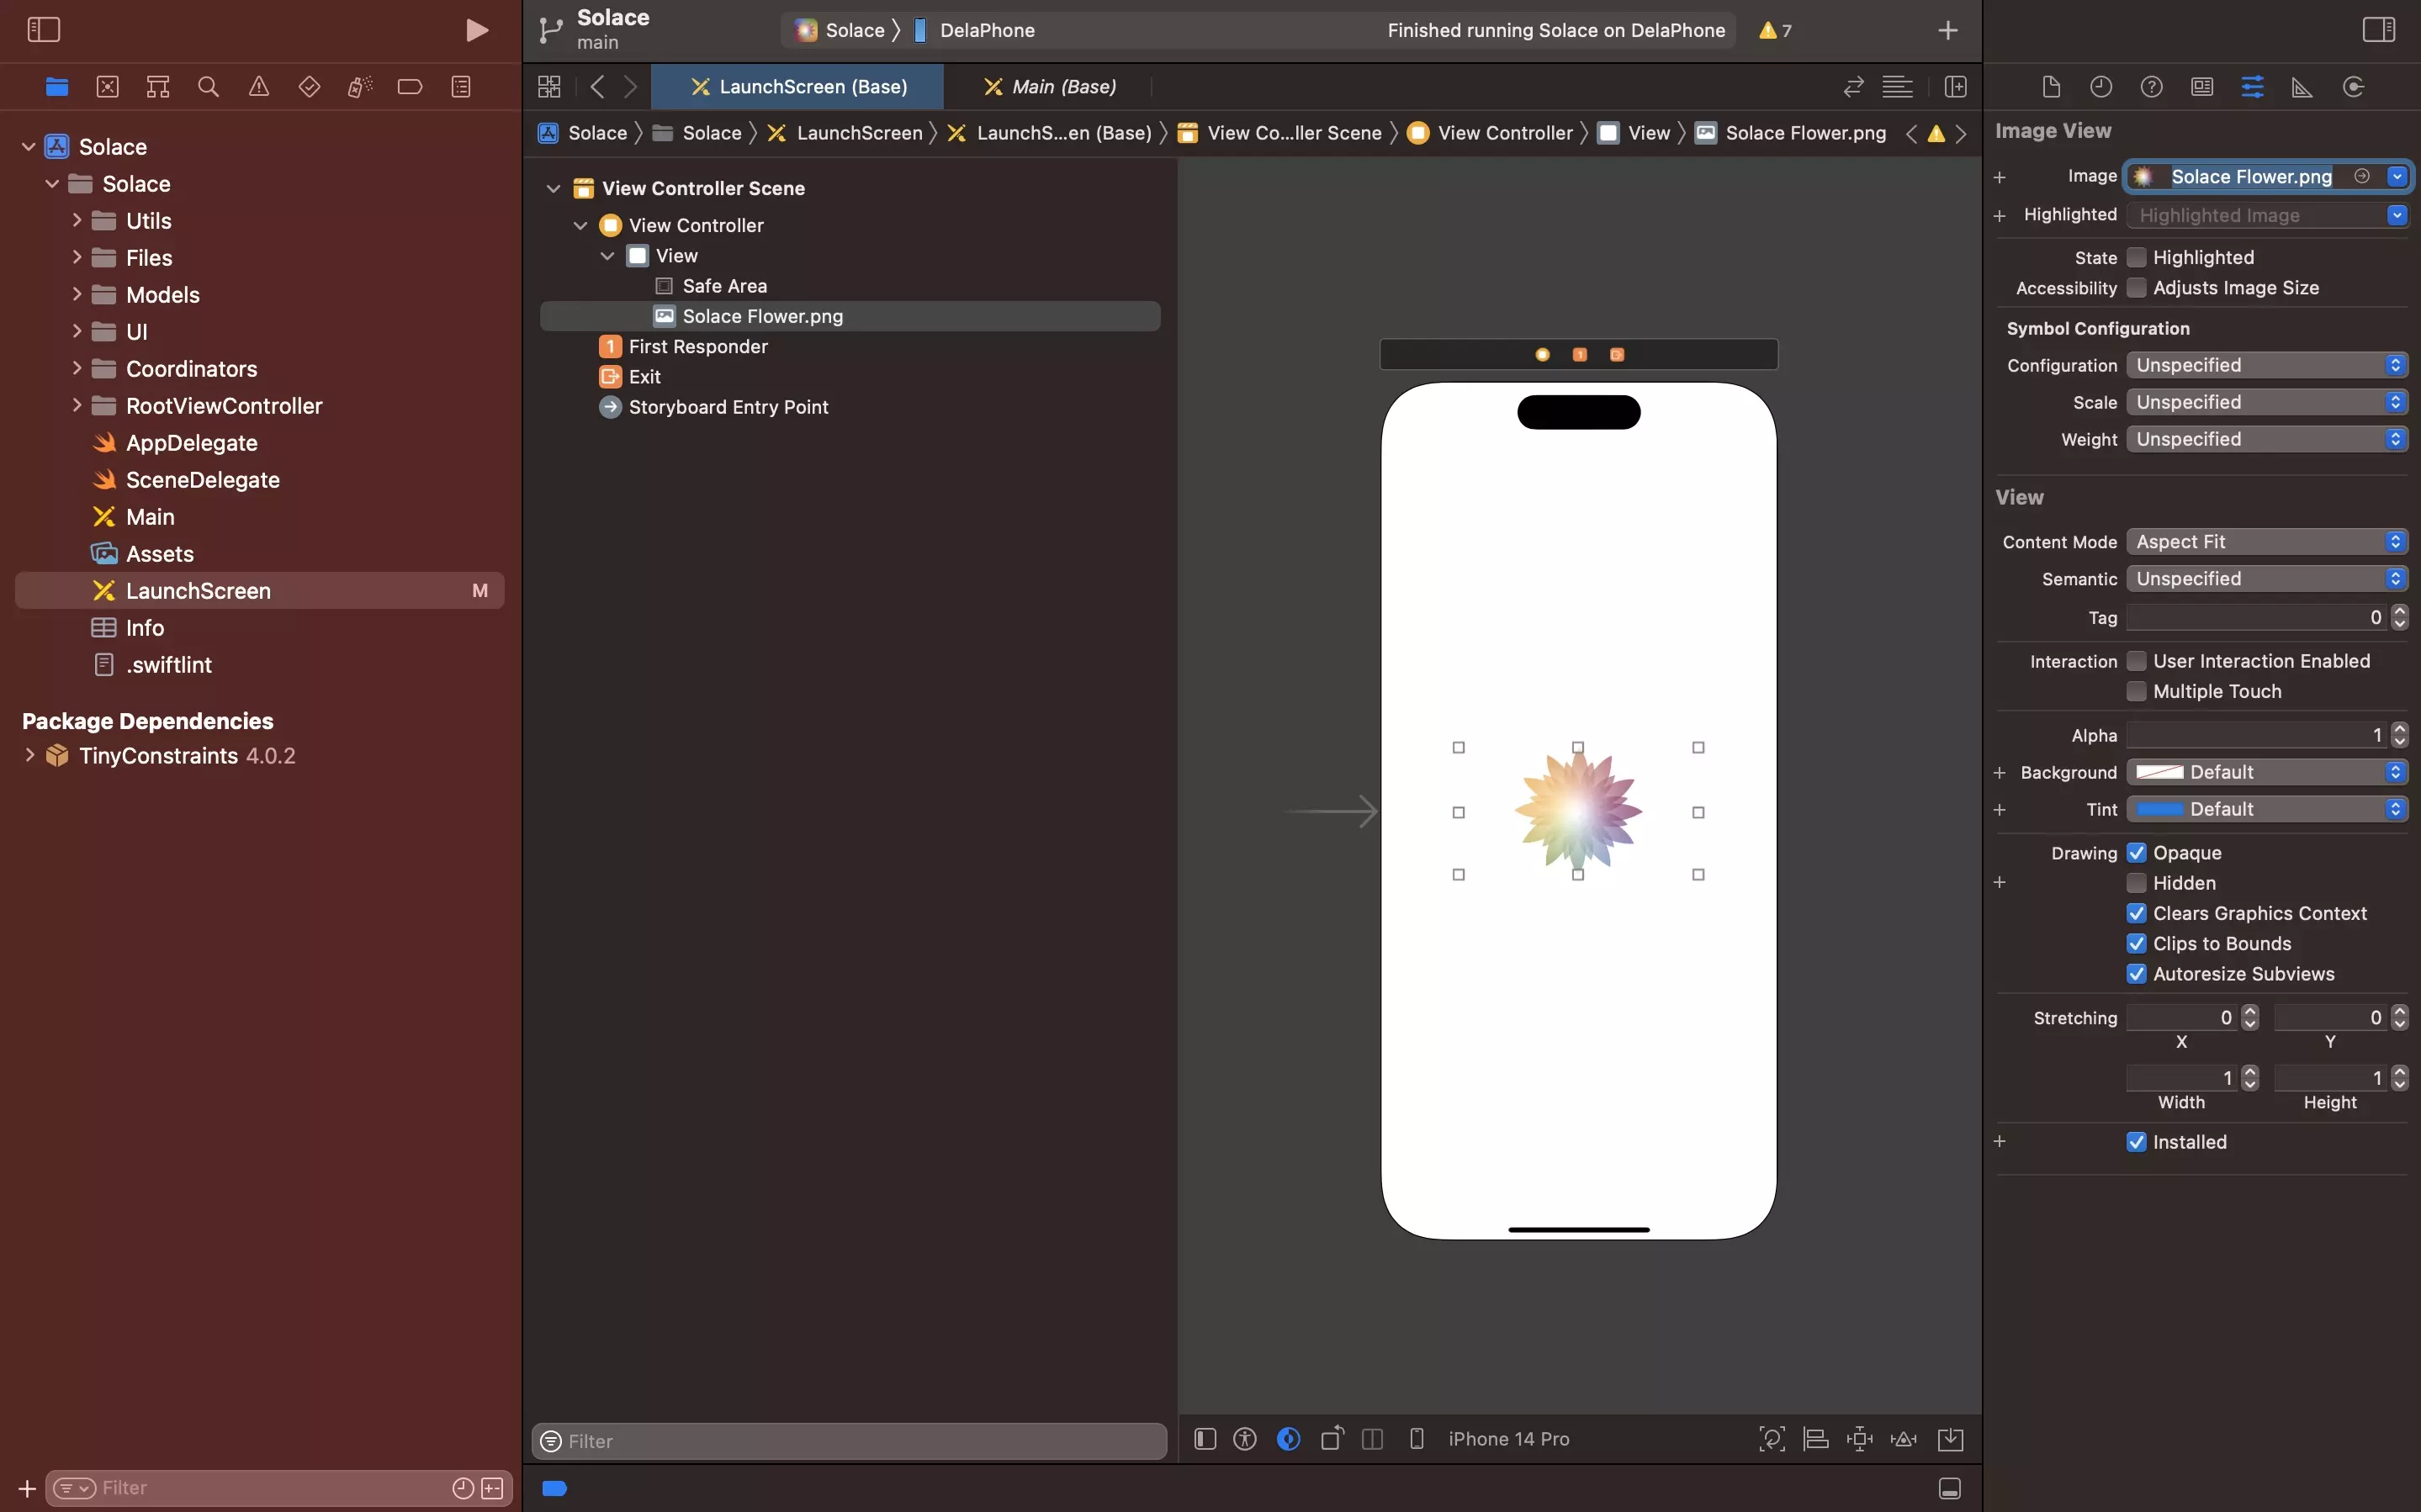
Step Three: Apply the Image

A screenshot of Xcode showing the launch screen storyboard. We have added a UIImageView to the viewcontroller and we have highlighted that it is selected. On the right menu sidebar, we have highlighted the icon that indicates that the attributes inspector is active as well as the "image" dropdown that allows you to select the image to apply to the image view.

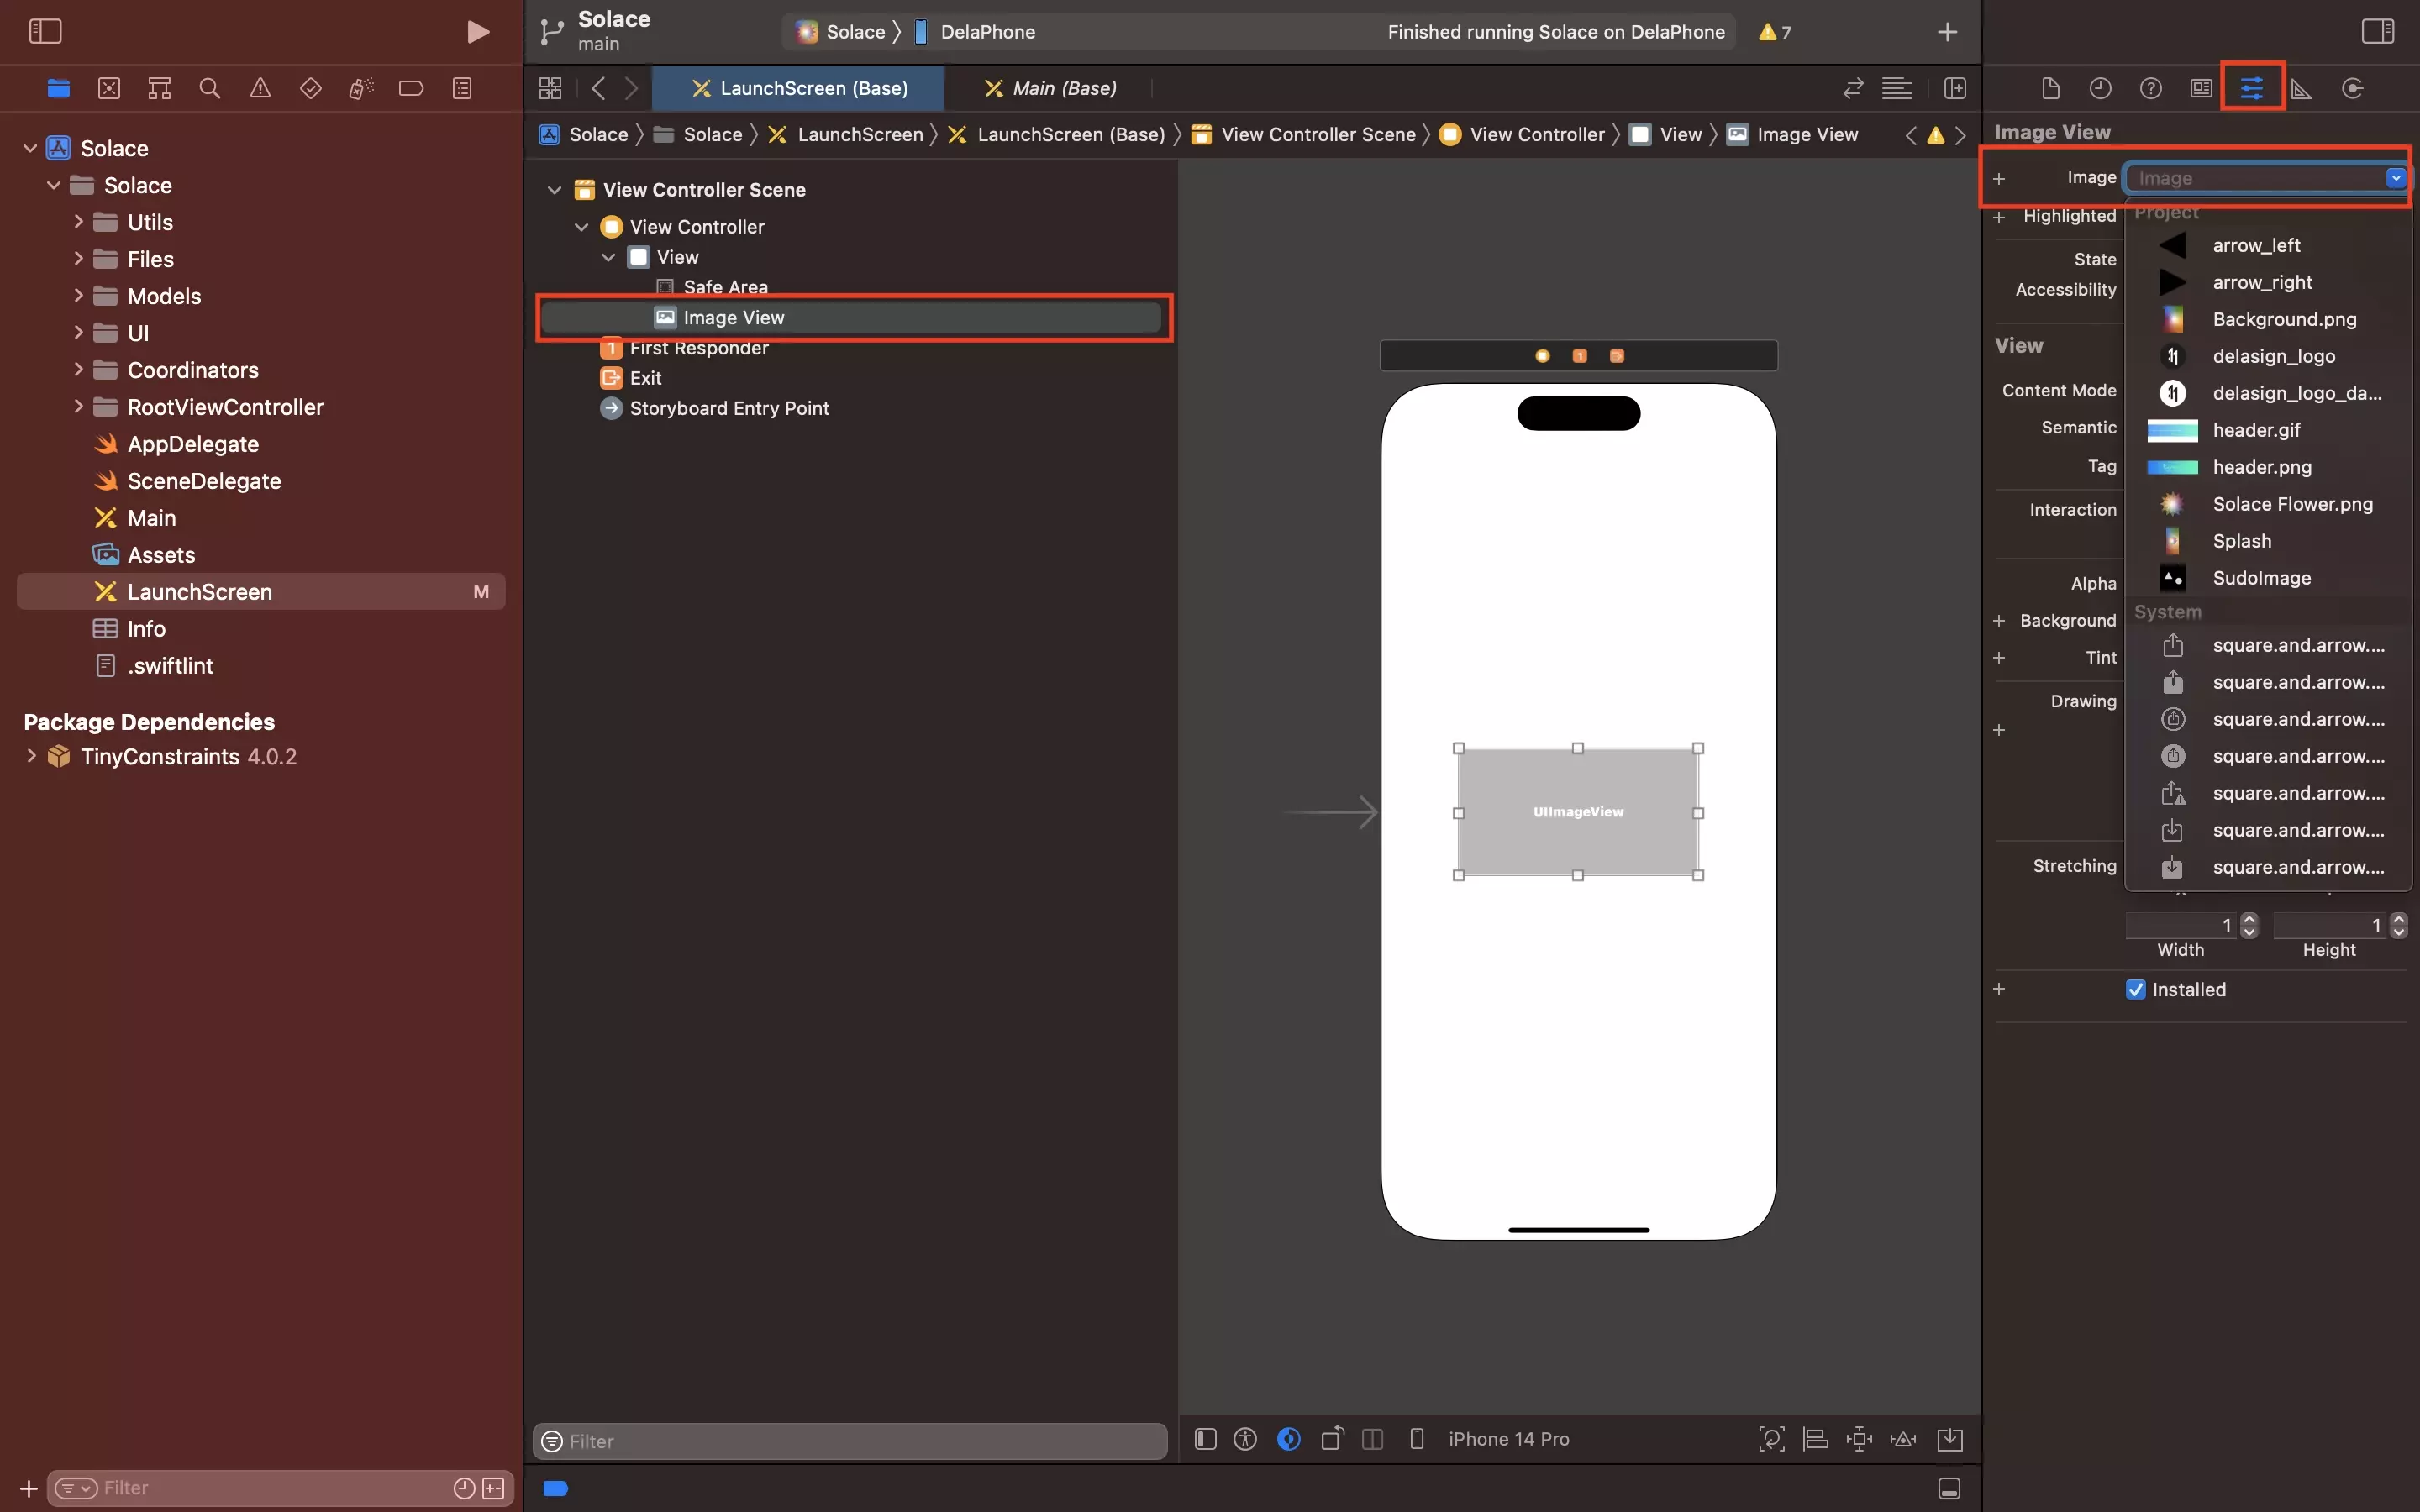
Select the Image View and open the attributes inspector on the right menu side bar.

Under Image either type in the name of the image in the input or use the dropdown to select an image from the project.

A screenshot of Xcode showing the launch screen storyboard. An image has been applied to the UIImageView.

Any Questions?

We are actively looking for feedback on how to improve this resource. Please send us a note to inquiries@delasign.com with any thoughts or feedback you may have.
delasign logo

Book a Free Consultation.

An icon of an email.

Click here to email us.

Fill in the details below to book a free consultation or to let us know about something else. Whatever it is, we are here to help.

How can we help you ?

Contact Details